Ensemble: General Overview
TABLE OF CONTENTS
Intro
With Ensemble MDM, you can remotely manage both Android and iOS devices. Our easy-to-use dashboard enables you to synchronize applications and policies across your devices with just a few easy clicks.
Admins can create projects to group policies, apps, and devices together. Multiple projects can belong to a single company. Company admins can only manage the projects and devices within that account. Resellers can manage multiple sandboxed ensemble accounts.
Companies
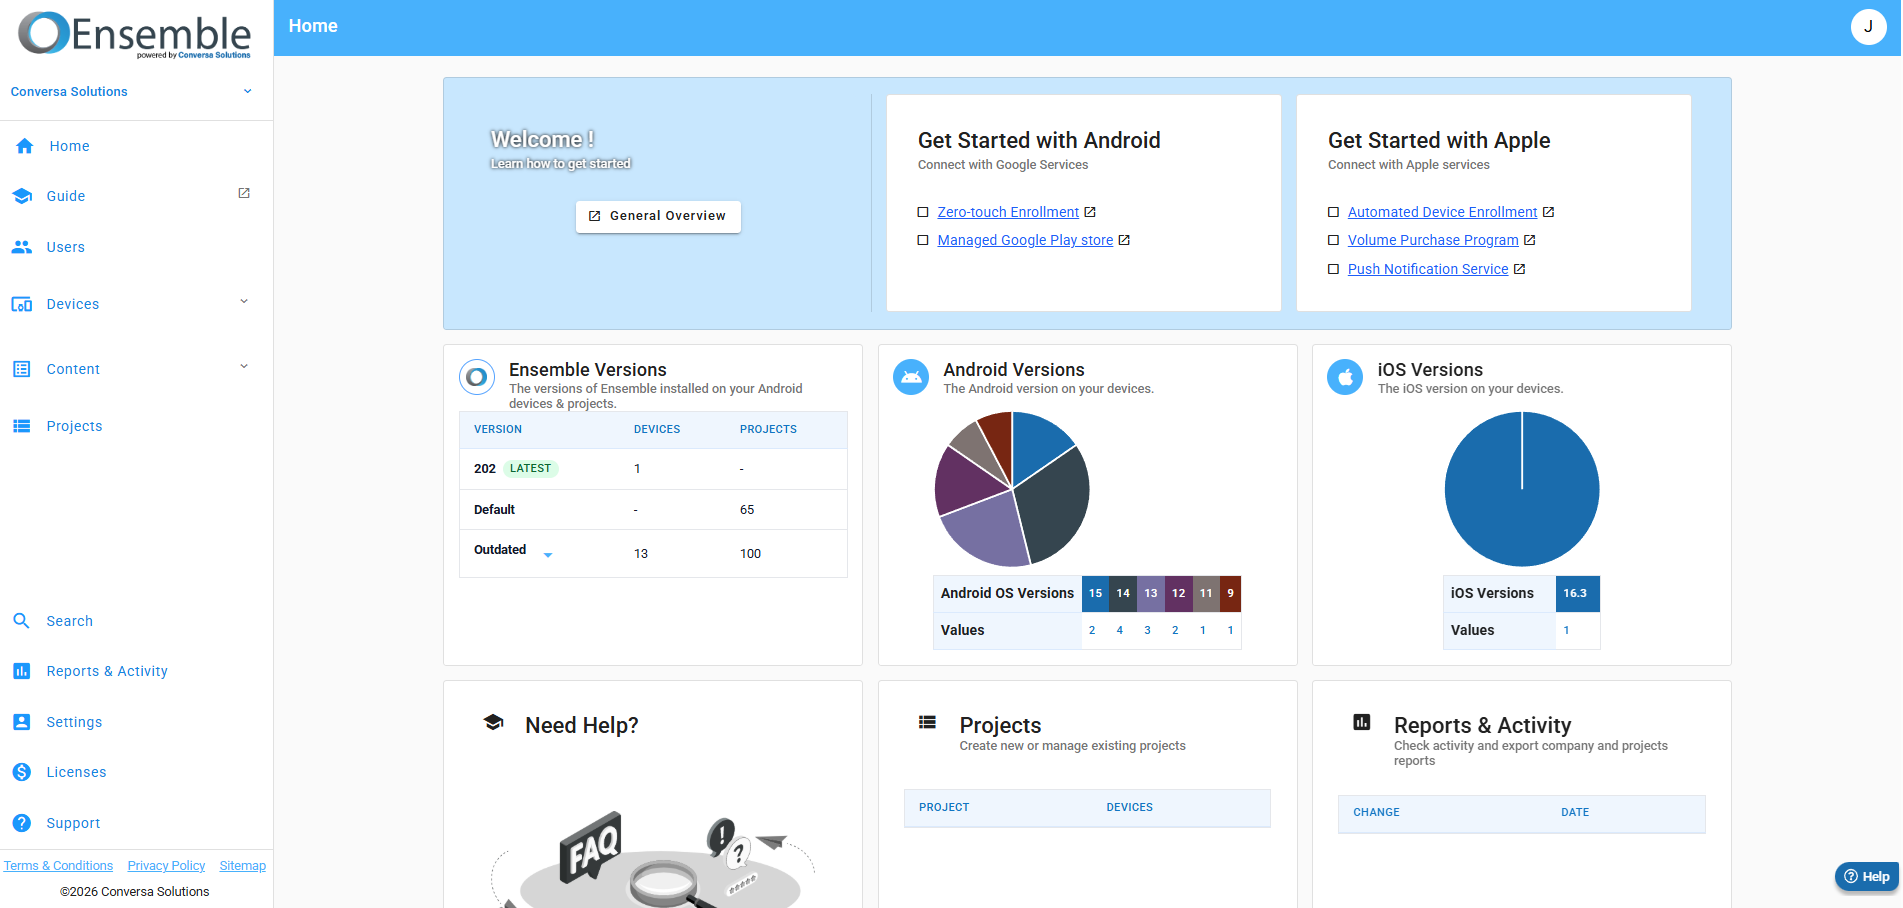
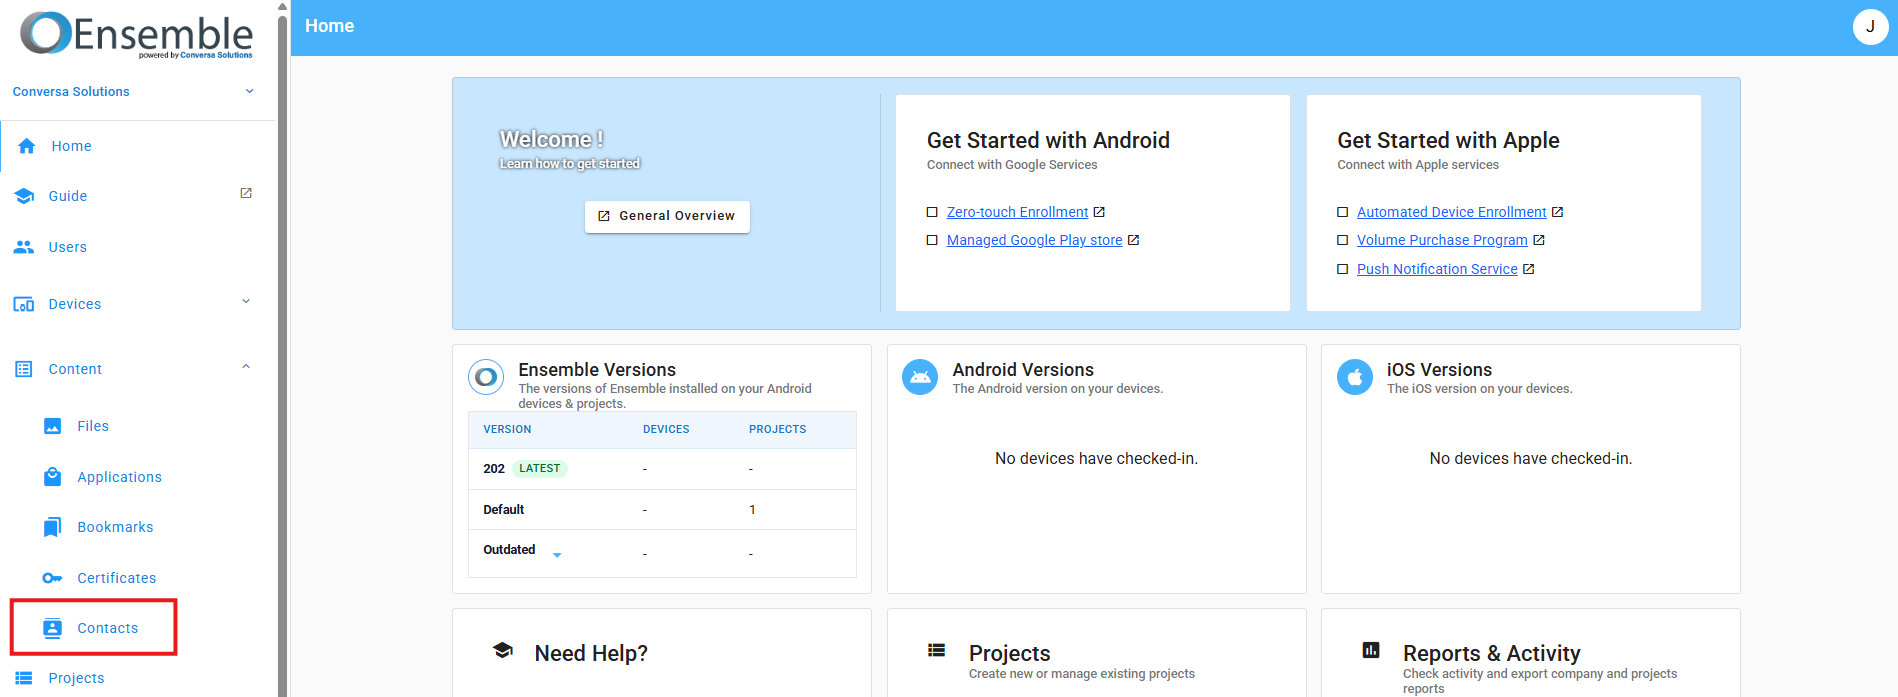
Let's start with the company homepage.
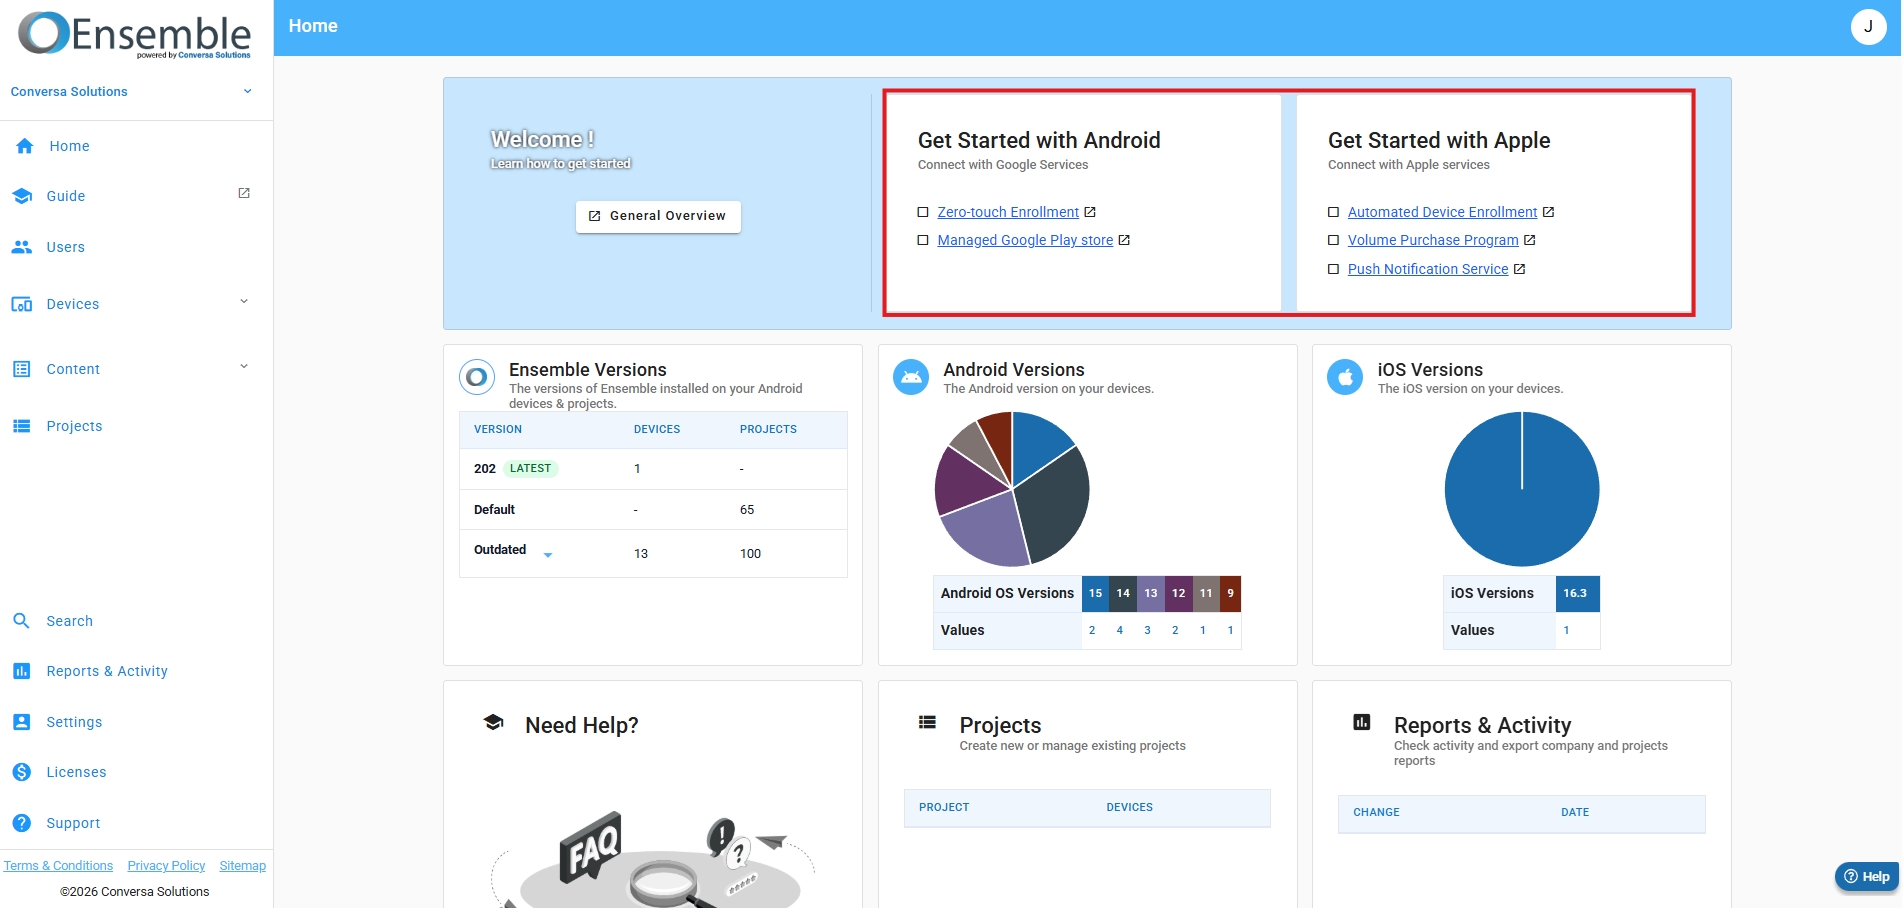
The Getting Started section lists the recommended first steps to take after creating a new ensemble company. Zero-Touch enrollment is the recommended method for installing Ensemble onto Android devices. By pre-registering device serials into Zero-Touch, Ensemble will install and activate once that device goes through the setup wizard. While not required to use Ensemble, setting up the managed Google Play Store is required to manage Play Store applications on Android devices. For Apple, automated device enrollment and Apple push notification services are required to manage iOS devices, and the volume purchase program is required to manage applications on iOS devices. The Apple services use tokens to integrate with Ensemble, and those tokens must be renewed once per year.
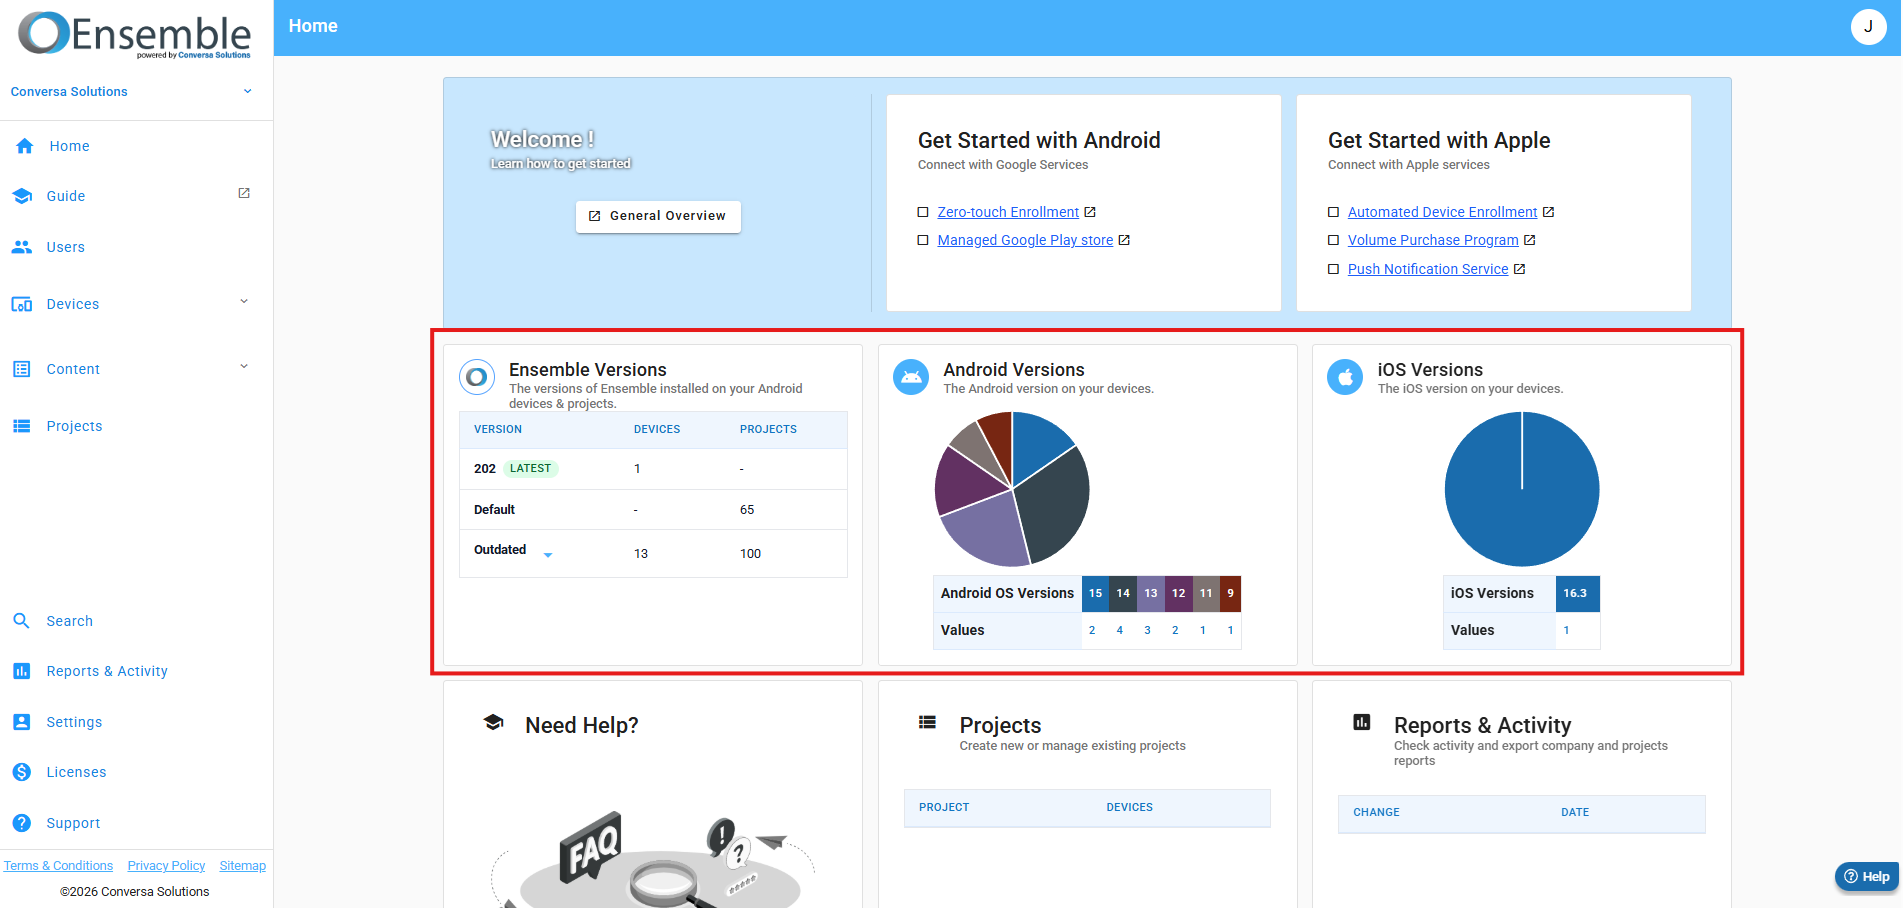
Below are tiles that provide general summary information about the devices, projects, and licenses on this company, and at the bottom of the page is a map that shows the location of your company devices.
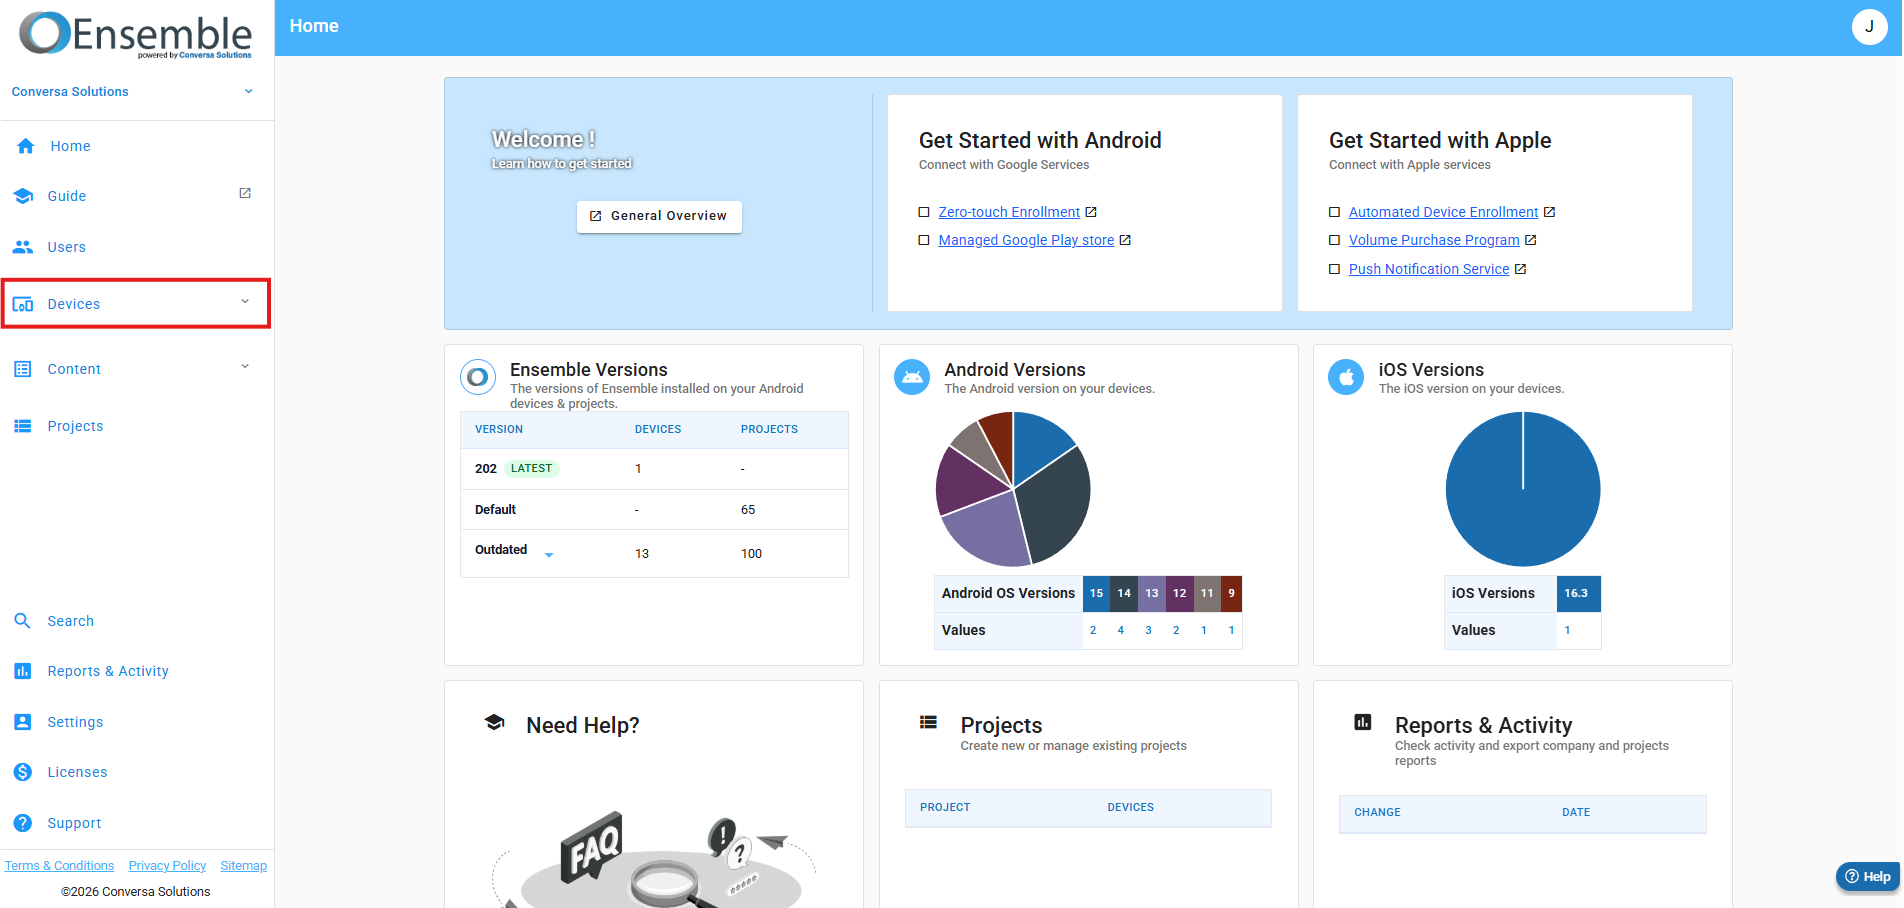
Devices
Next, let's take a look at the devices page. This section holds the various methods of installing Ensemble onto your devices. View the getting started guide to learn more about device enrollment.
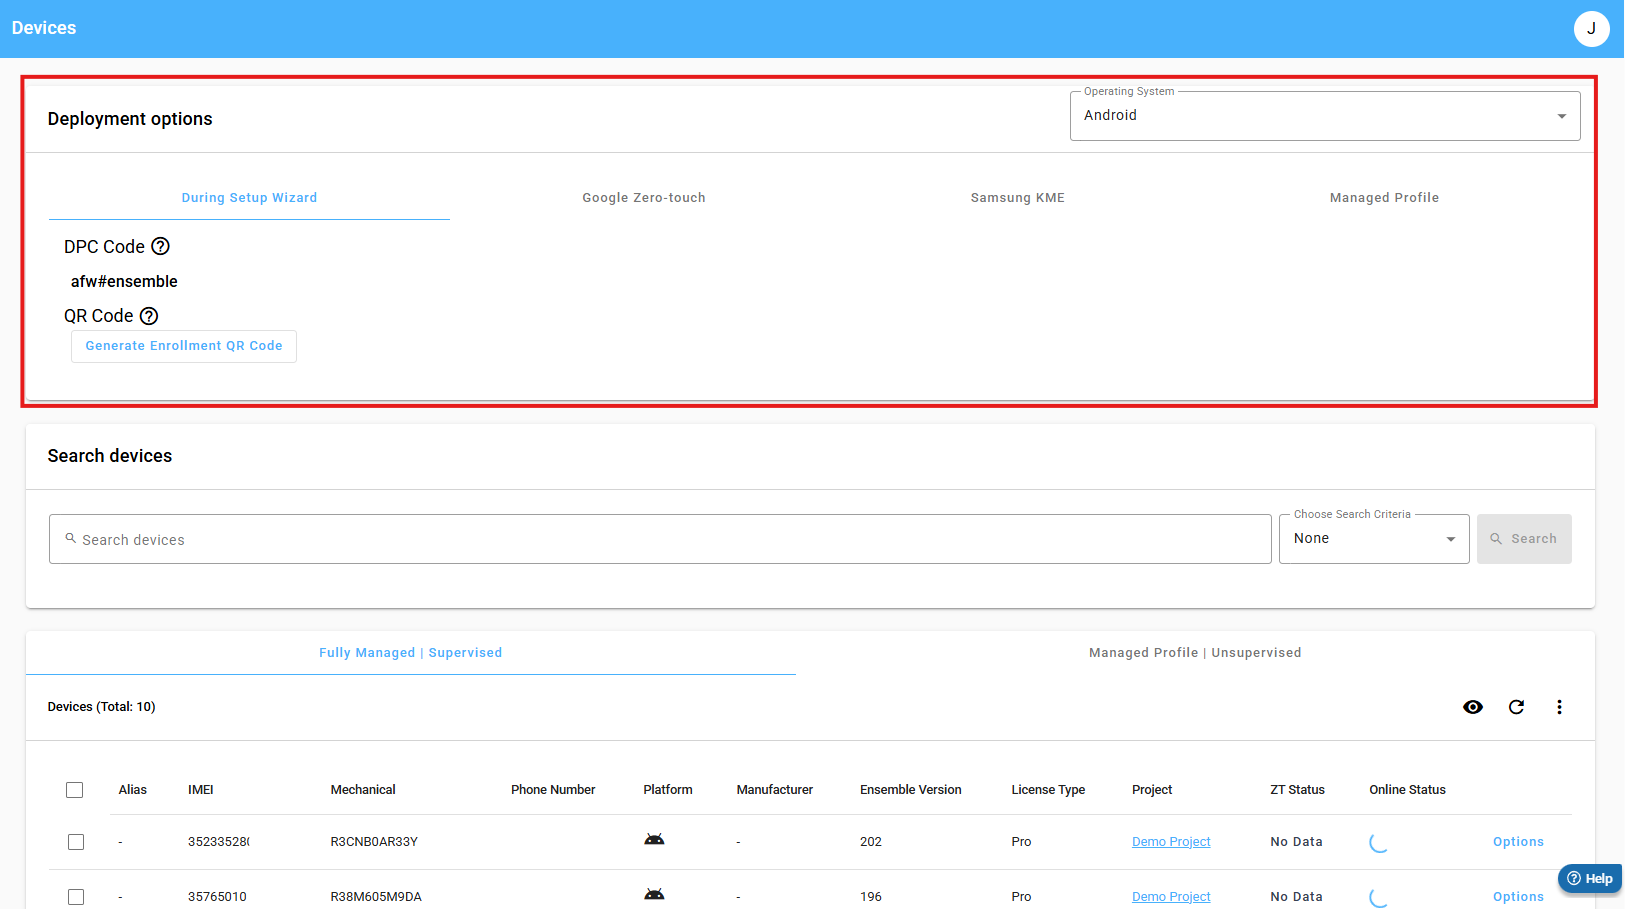
This section is the device management table. New devices can be registered here individually or in bulk. Once registered, this table will allow you to view device information or send remote commands to the devices. For more information on how to use the device management table properly, please see the linked Knowledgebase article.

Content
The next section is content.
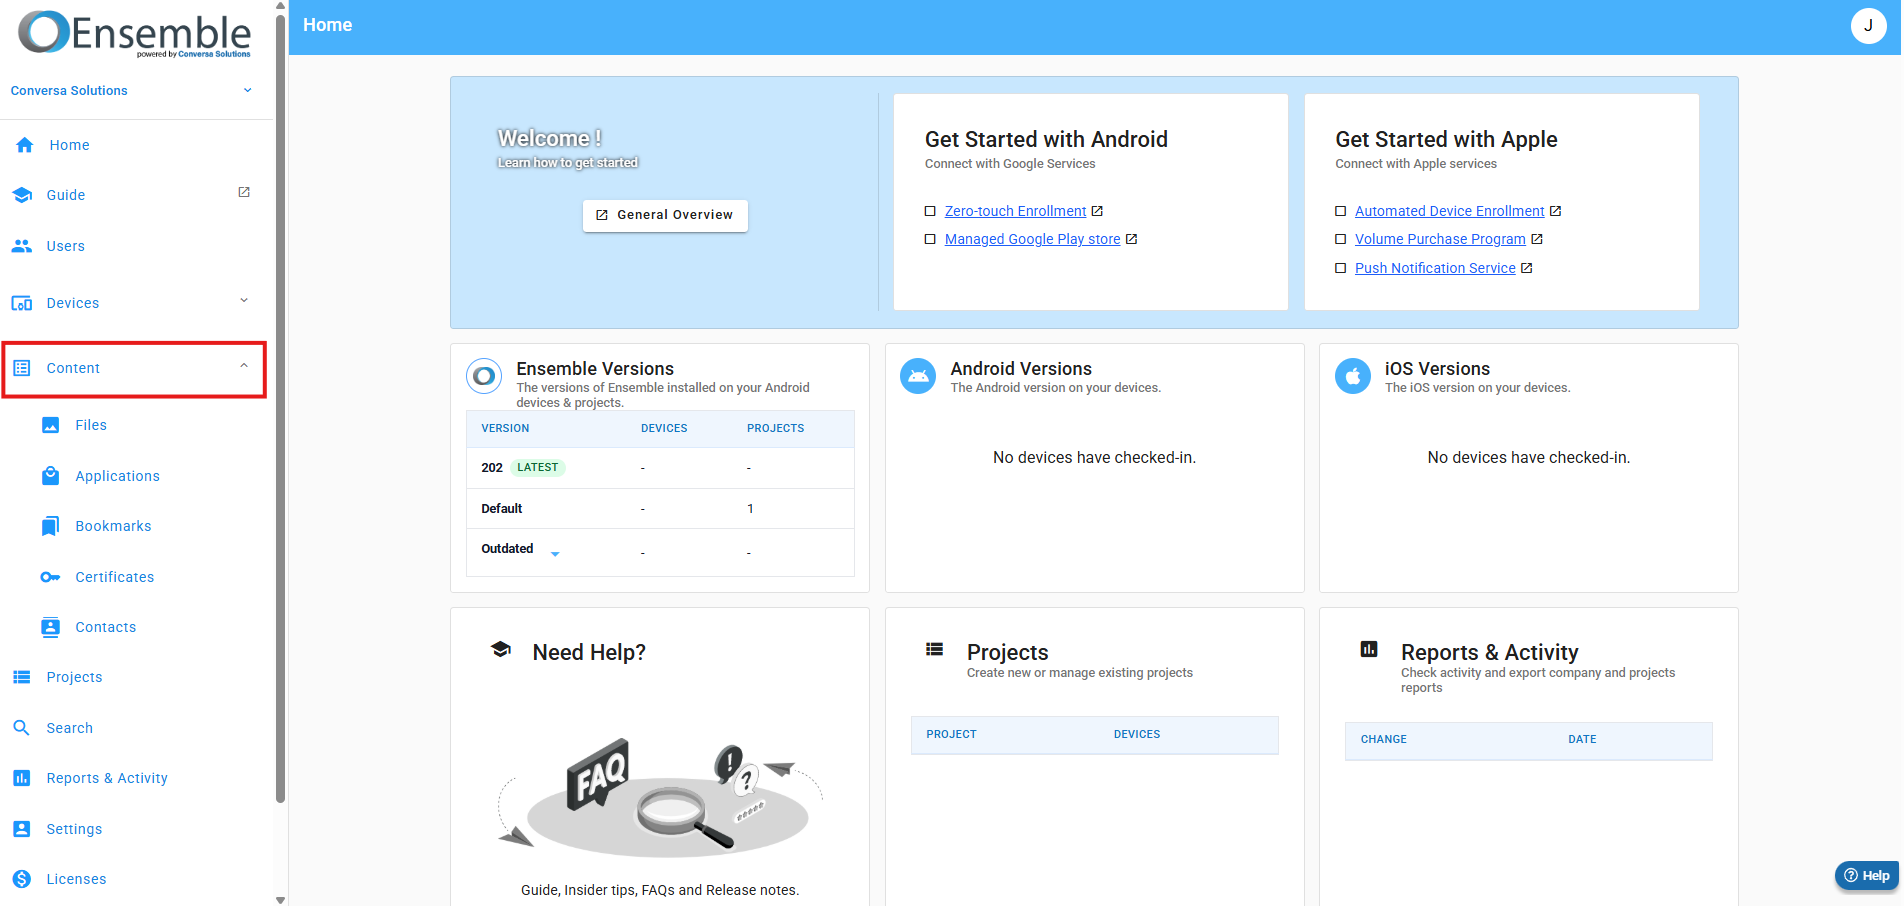
These pages are used to create a library of applications and files that can be later associated with the devices via a project.

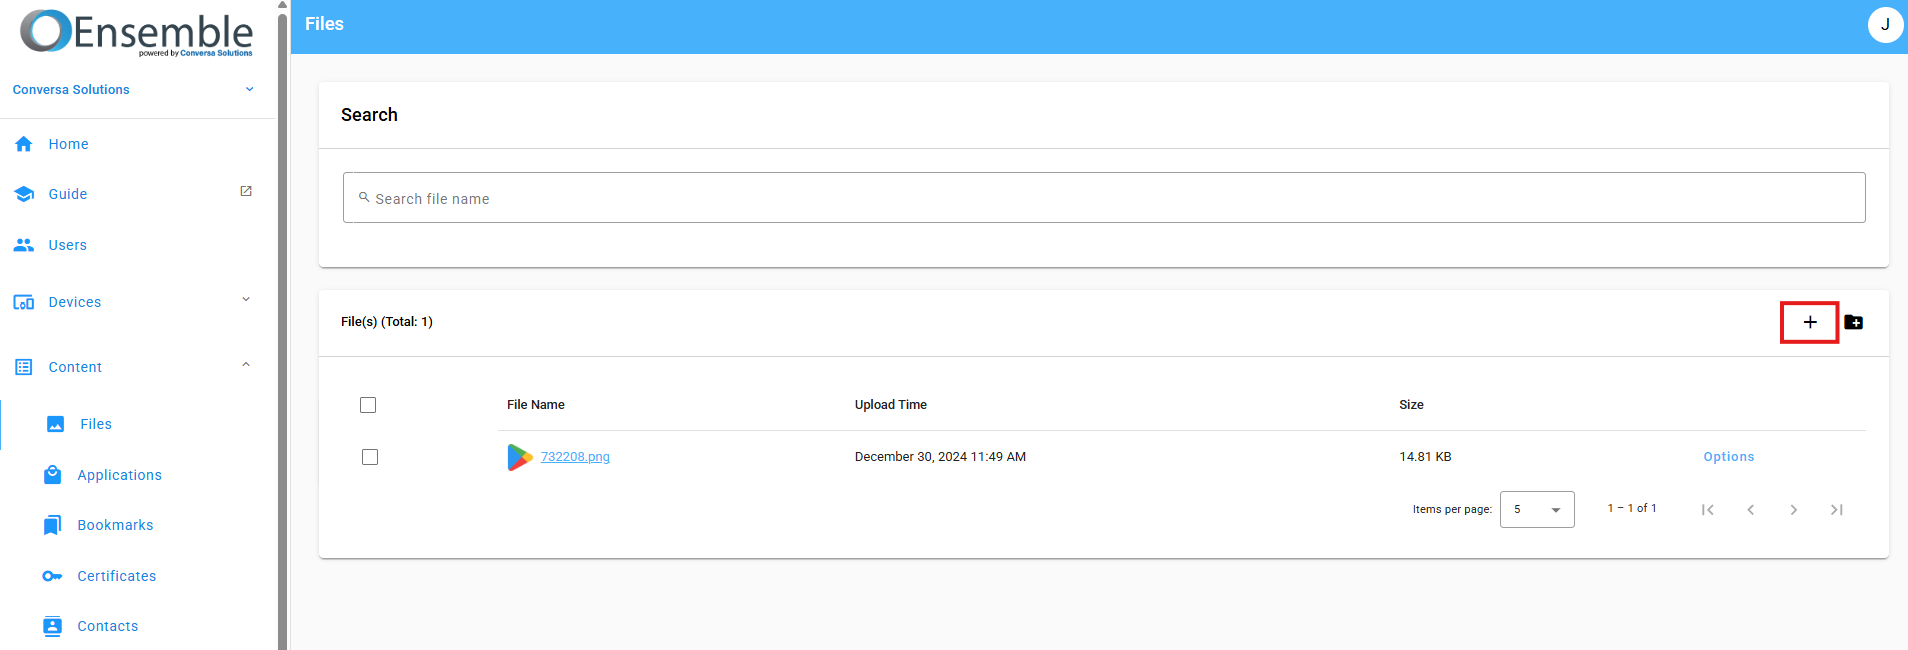
The files tab is where you can add any files that you wish to be deployed to your fleet of devices. These can include files such as images, PDFs, and audio files, among others. To add files to the company's content storage, click the plus button on the right hand side of the screen, navigate to the files on your machine, and click upload.
Applications

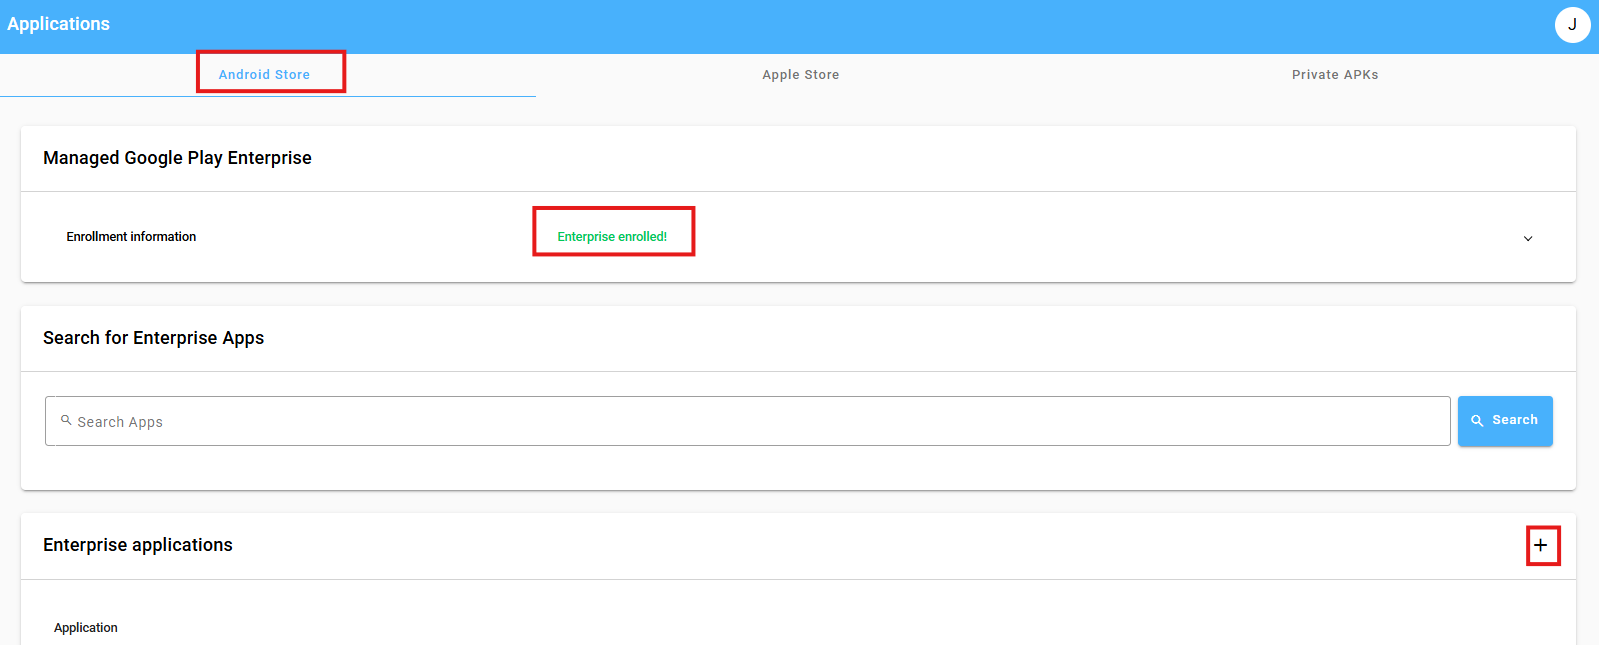
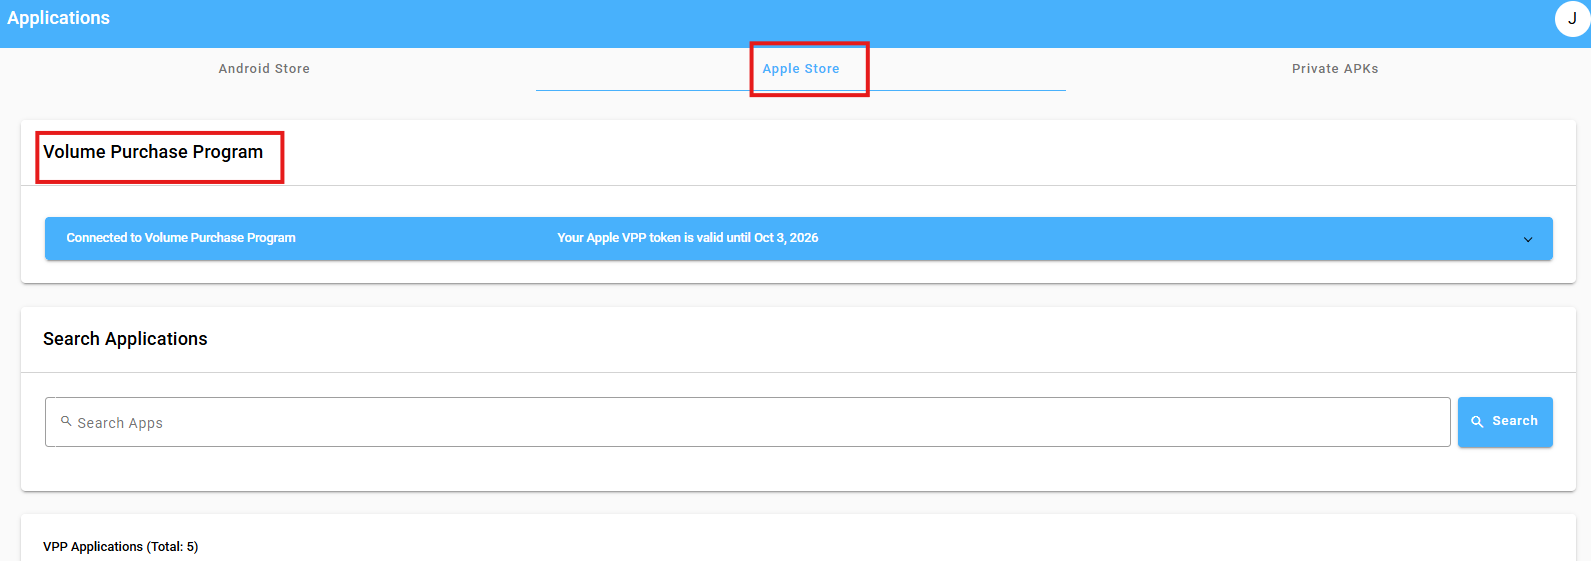
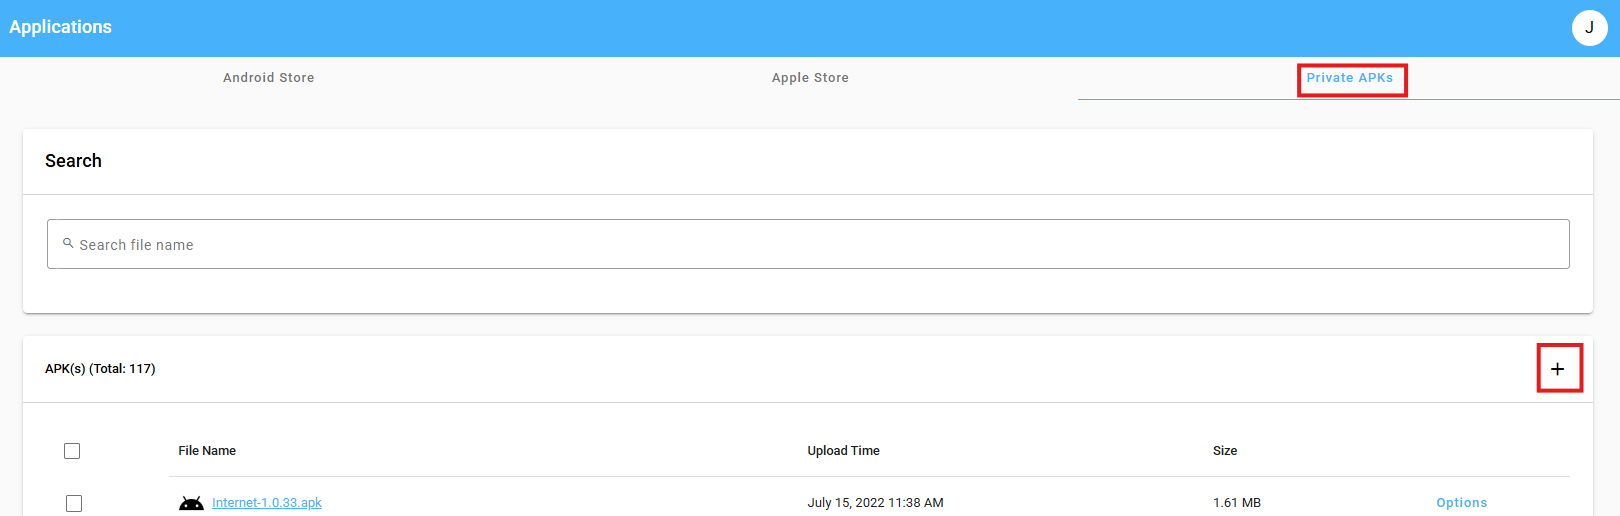
The applications tab is where you can add private App Store and Google Play applications to your company content. In order to add applications via the Apple Store, you must be enrolled in the Apple Volume Purchase Program, and to add applications from Google Play, you have to have a managed Google Play account set up. You can also manage Android applications that are not in the Play Store by uploading your APK files in the Private APKs tab.
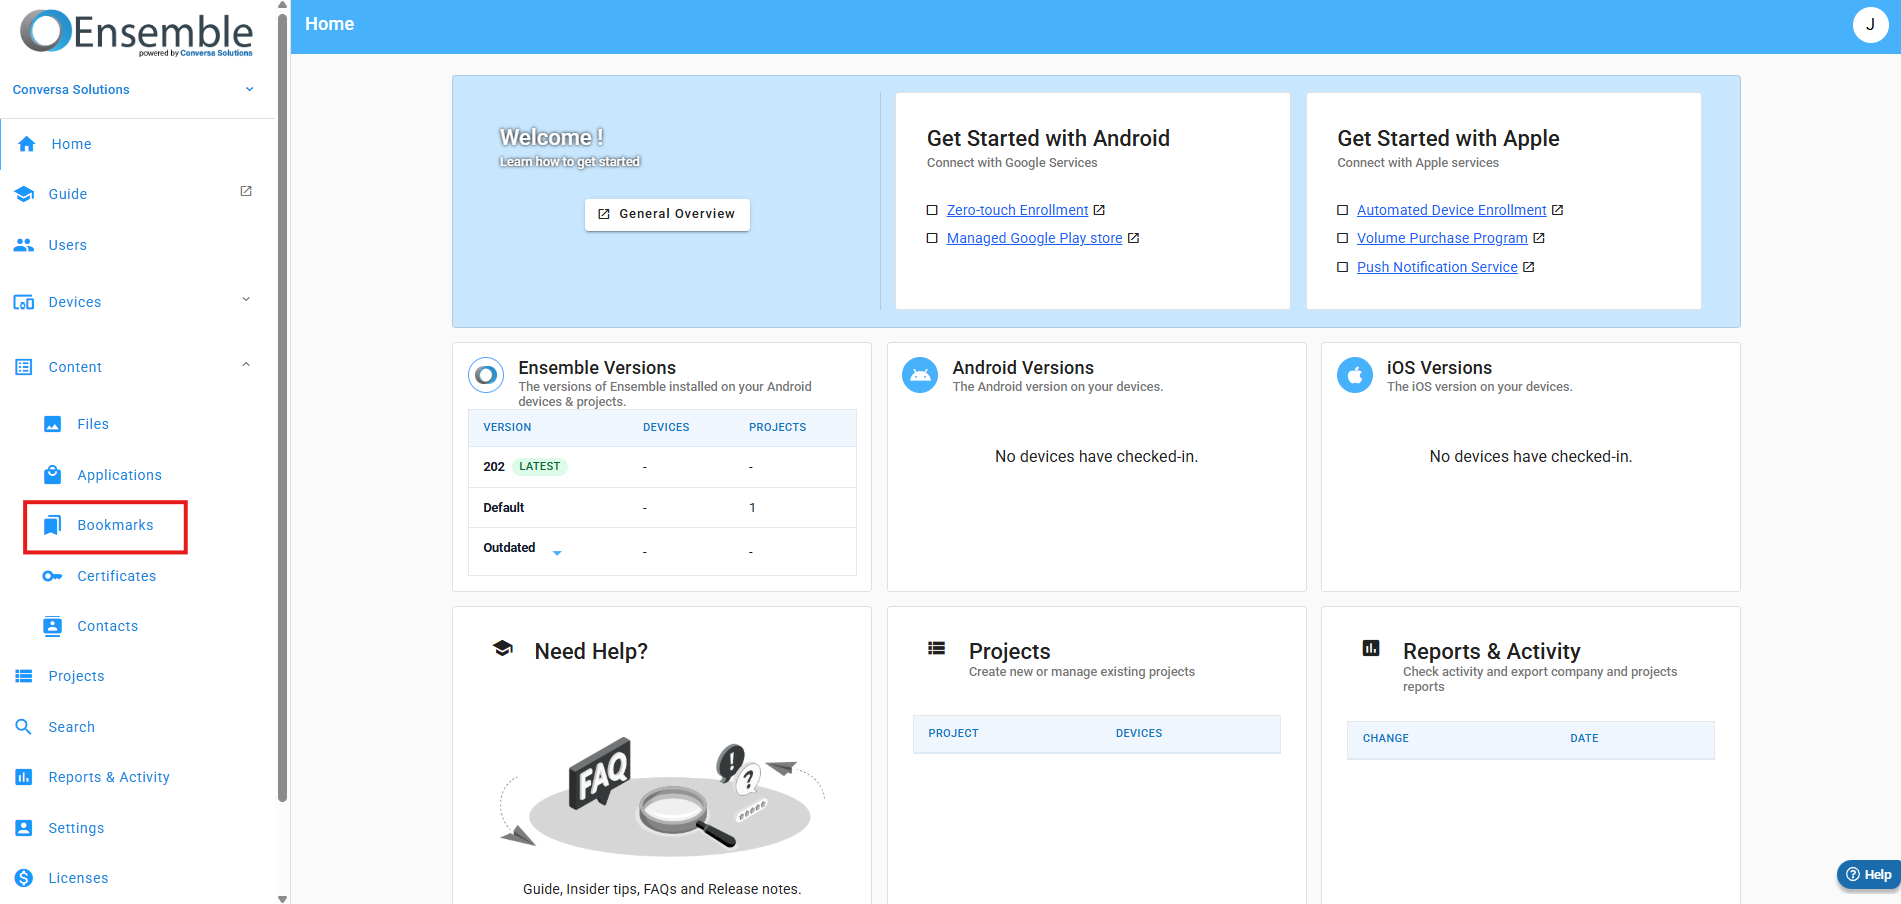
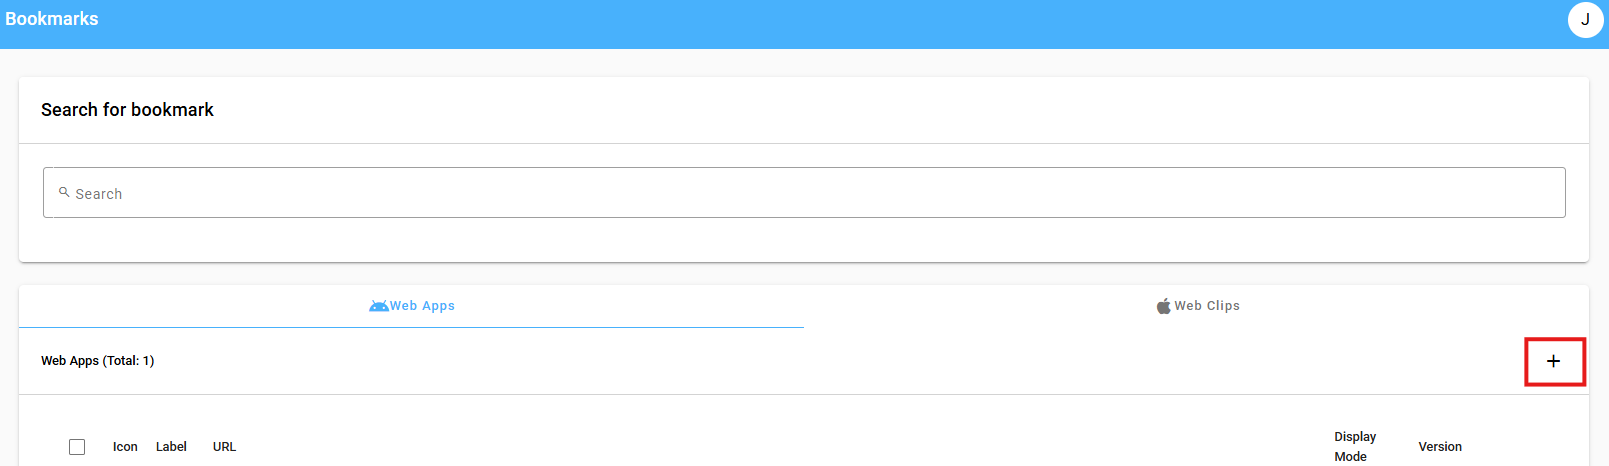
Bookmarks
The bookmarks tab is where you can create Android web apps and Apple web clips. These act as web bookmarks that you can add to your project that allow for your end users to quickly access sites without the need to open a browser application. You can add one in either tab by clicking the plus button.
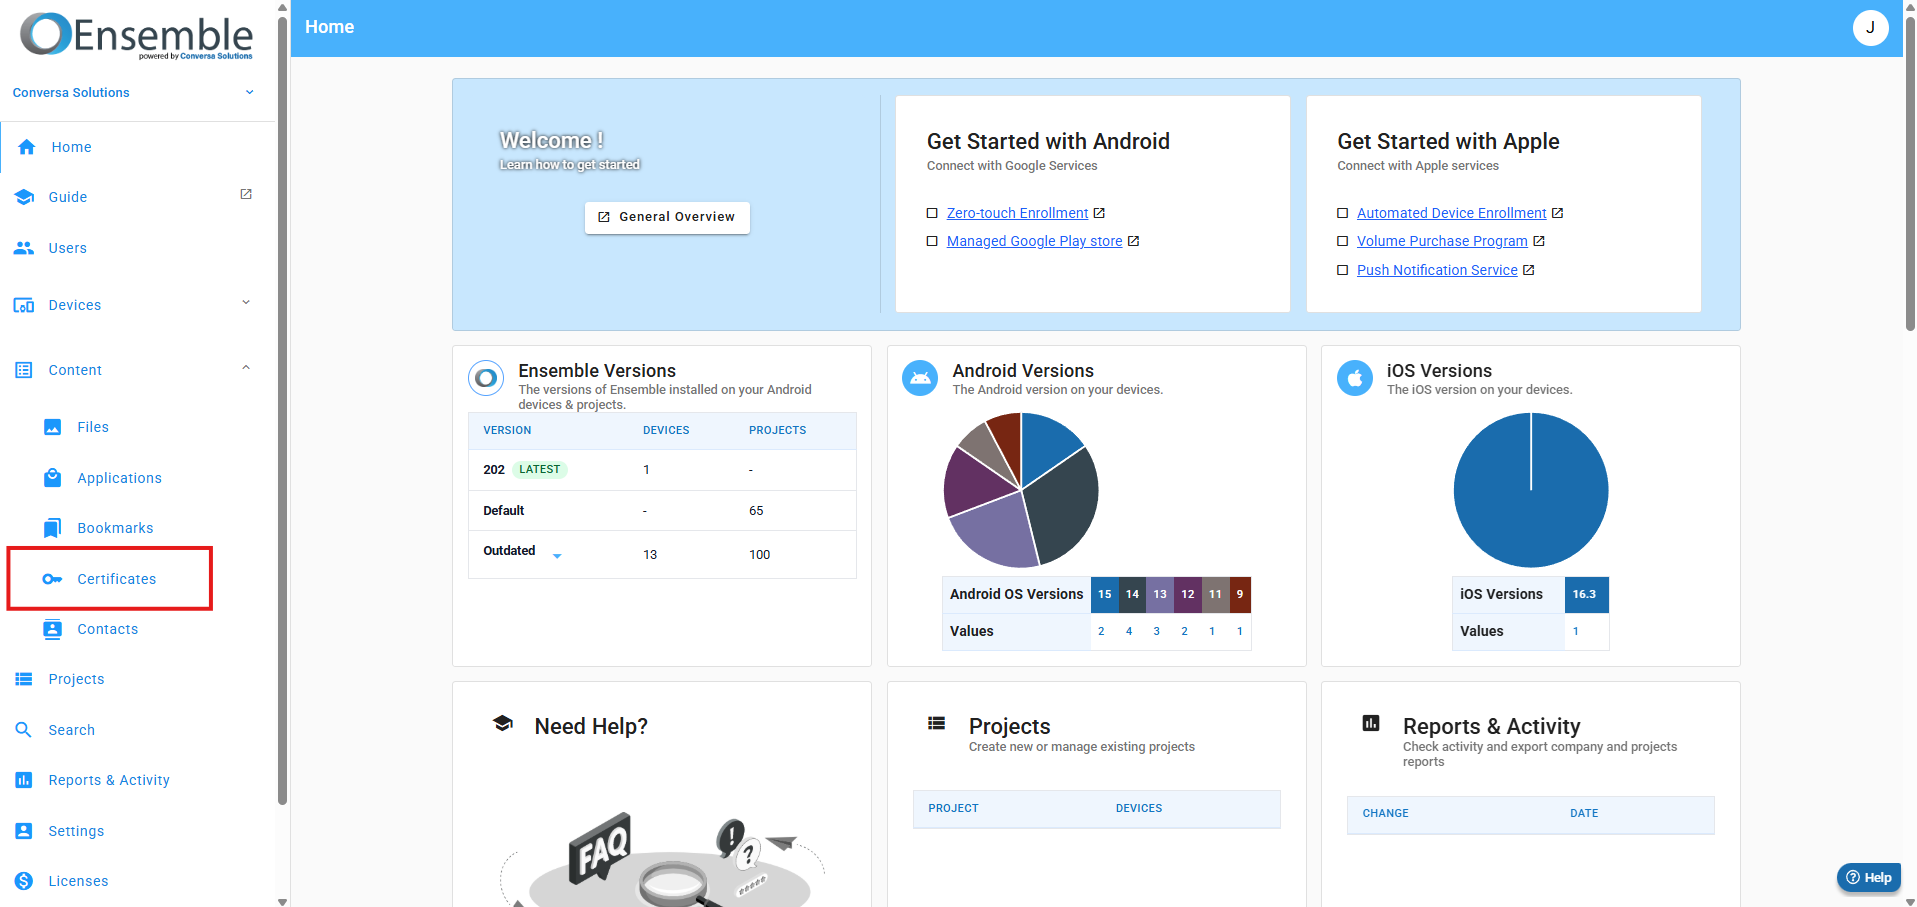
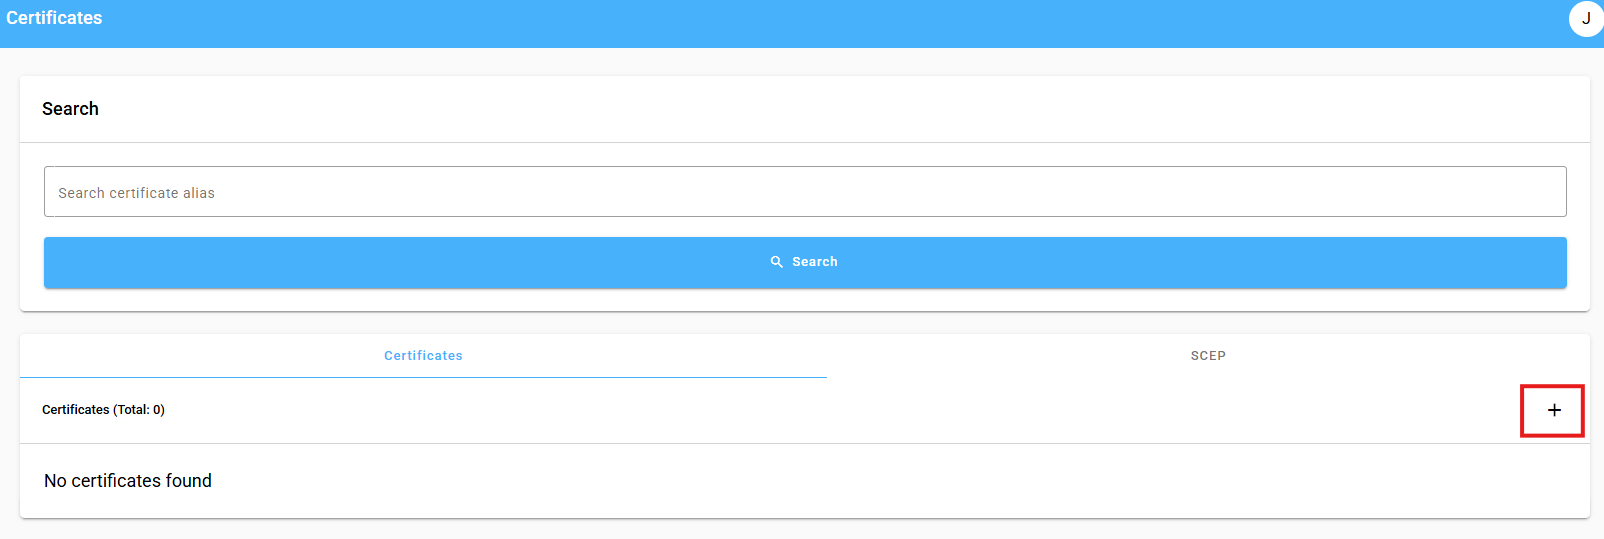
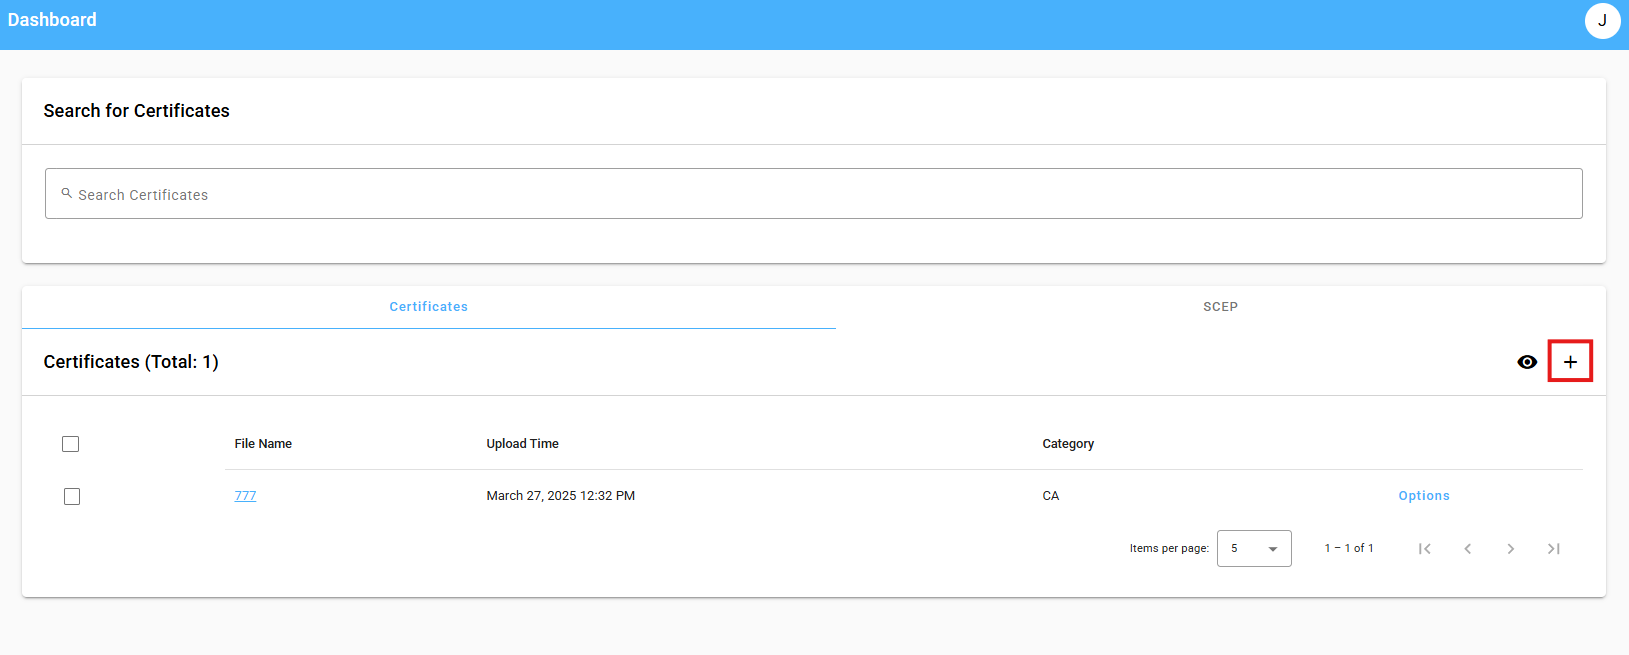
Certificates
The certificates page is where you would upload any certificates that you may have for Wi-Fi configurations or a VPN application. To add a certificate, click the plus button.
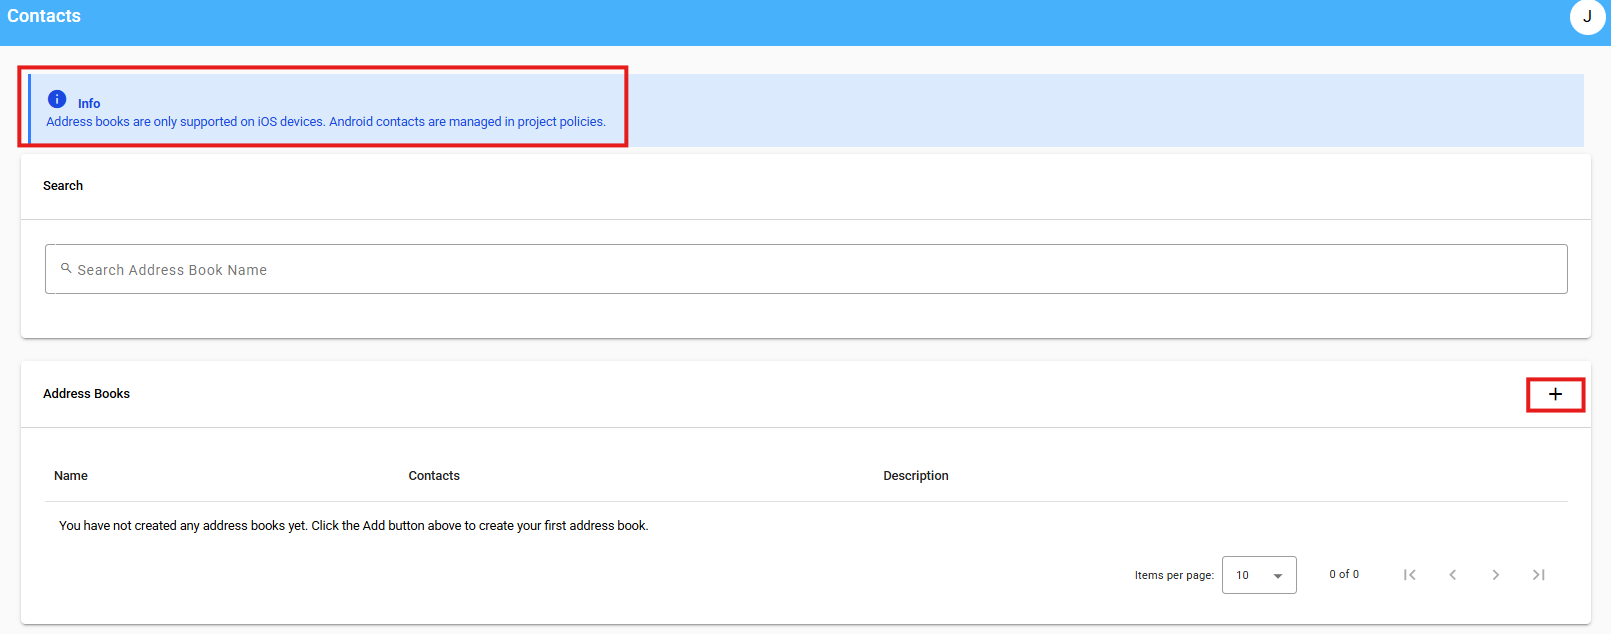
Contacts
The contacts tab is where you can add in your contacts for iOS projects. You can create an address book here by clicking the plus button.
Once you've built your content library, these files and applications can be used across multiple projects, which brings us to the projects page.
Projects
This page is where projects can be created, cloned, or deleted.
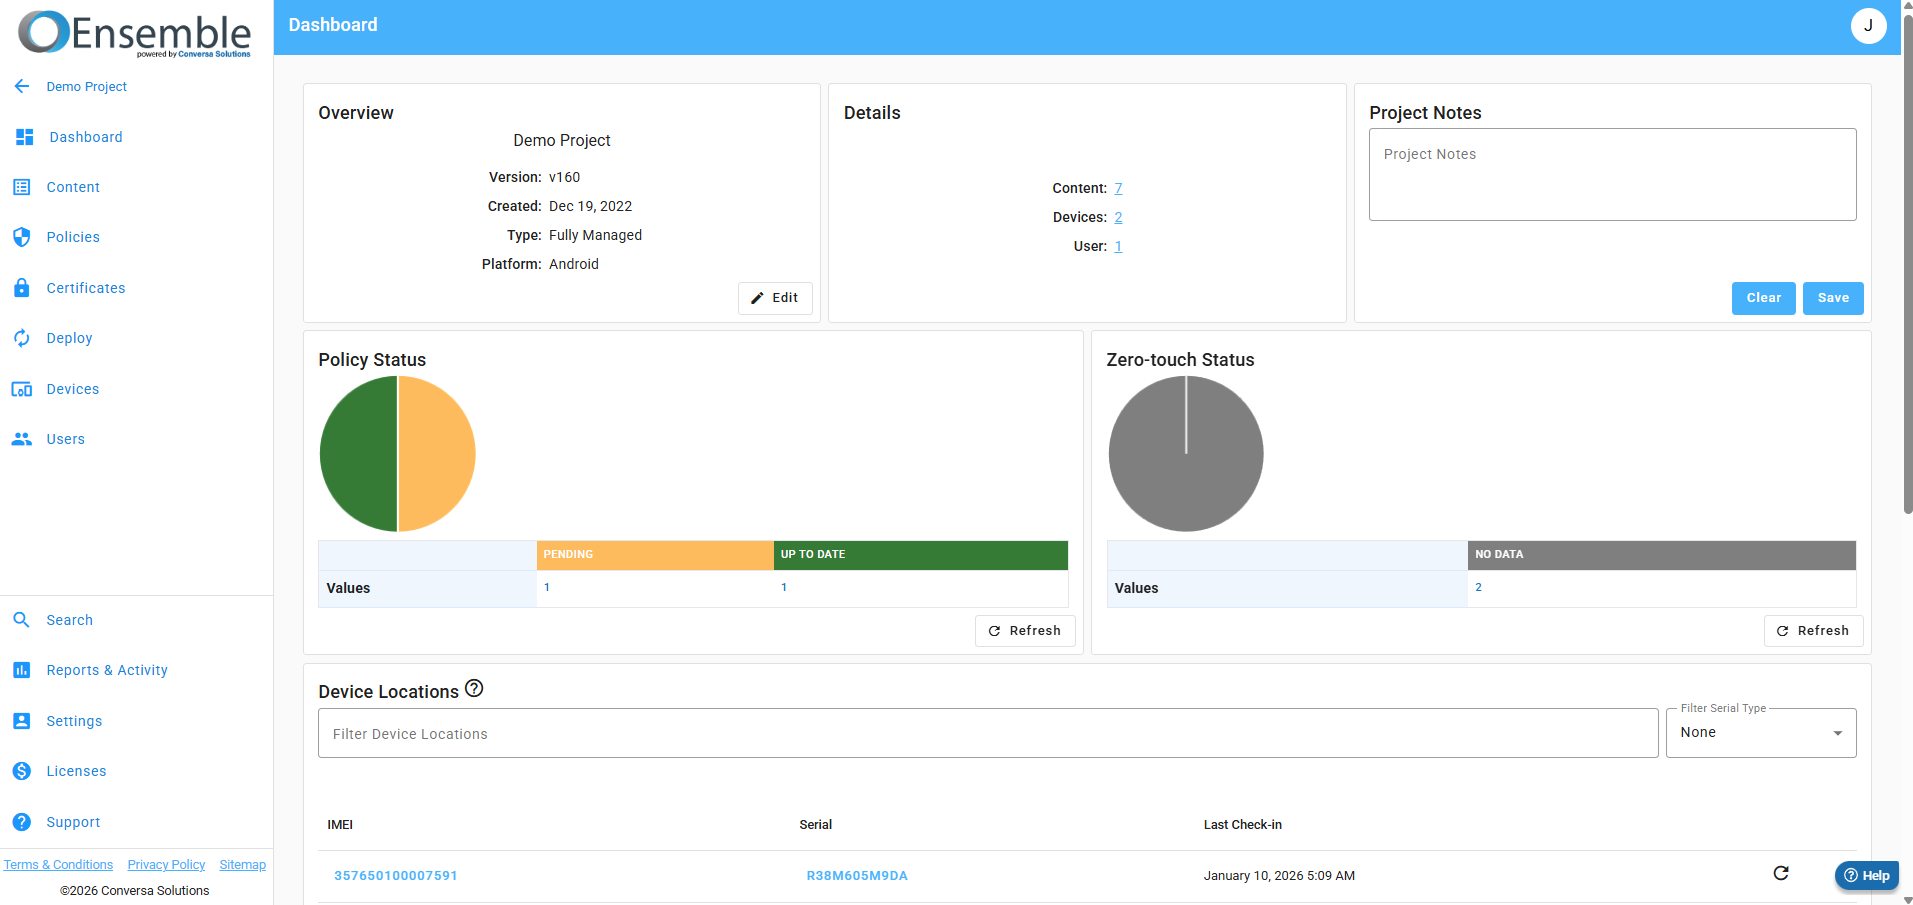
 Projects tie content and policies to a group of devices. Similar to the company pages, the navigation menu on the left will take you to the different pages related to this project. The name of the project can be found at the top of the page. Clicking the back arrow will take you back to the main company projects page.

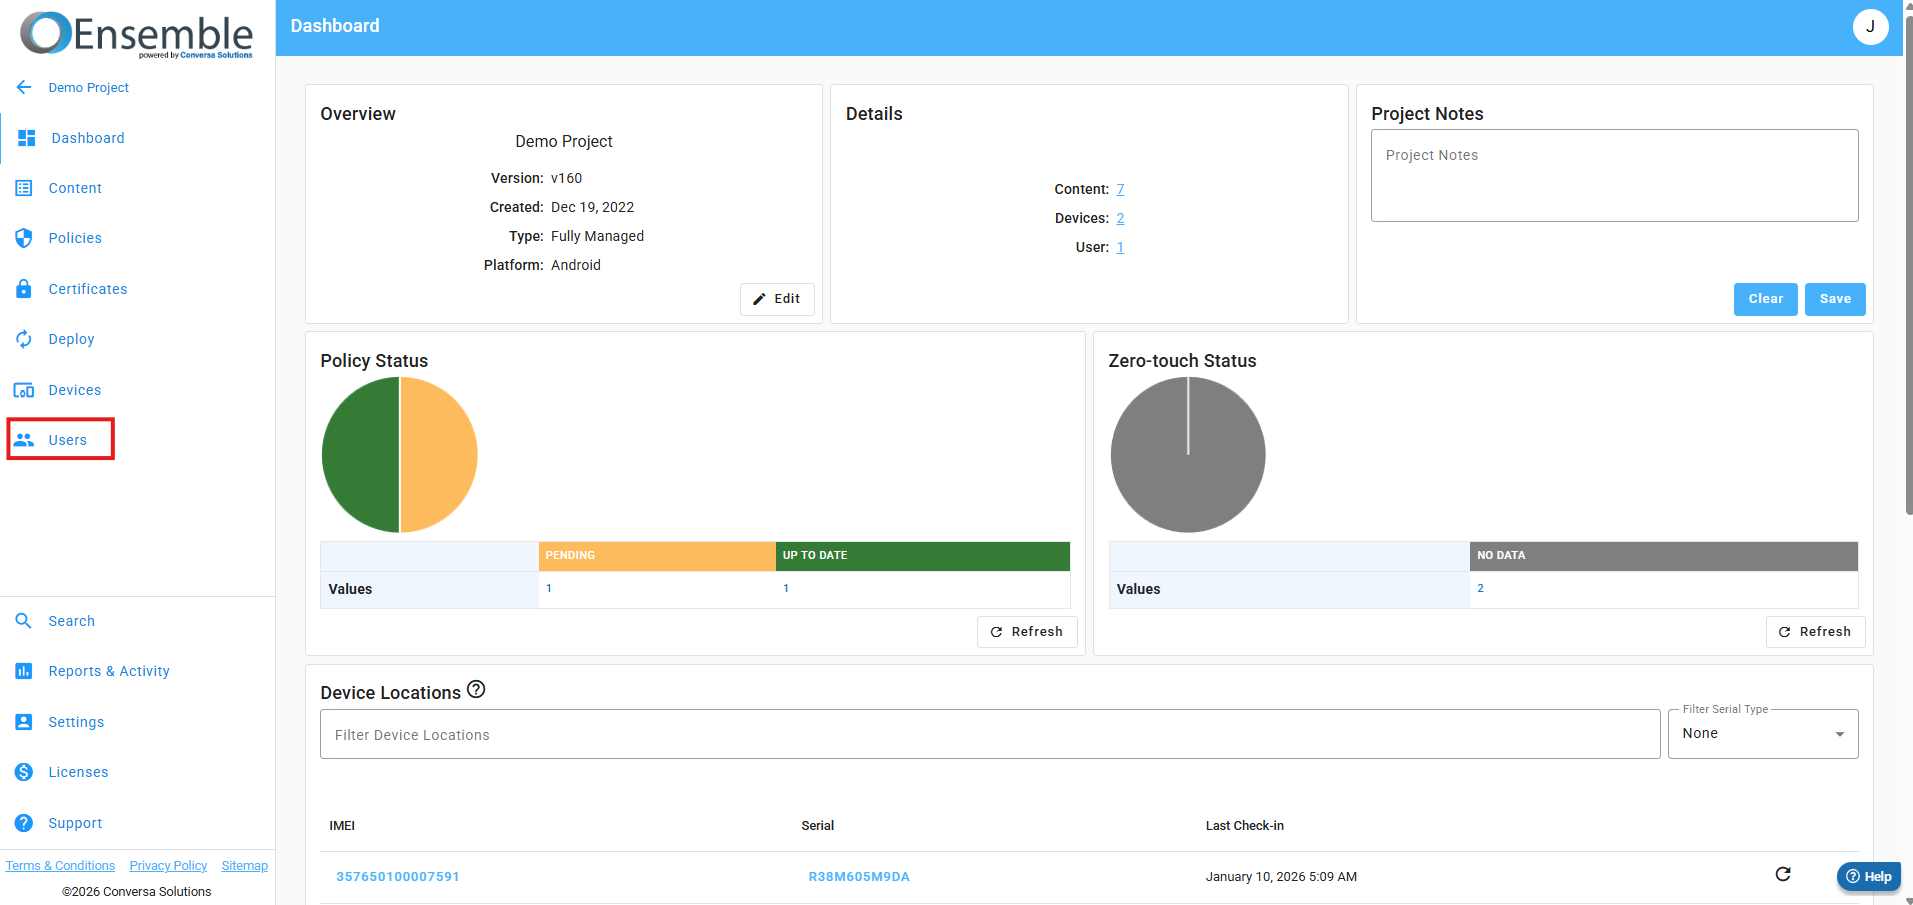
From the dashboard of the project, you are able to see how many pieces of content there are on this project, how many users, if the devices are on zero touch, if the location is turned on, and if it is, you can see pins dropped on the map for every device on the project. You can also take notes on the project dashboard.
Project Content
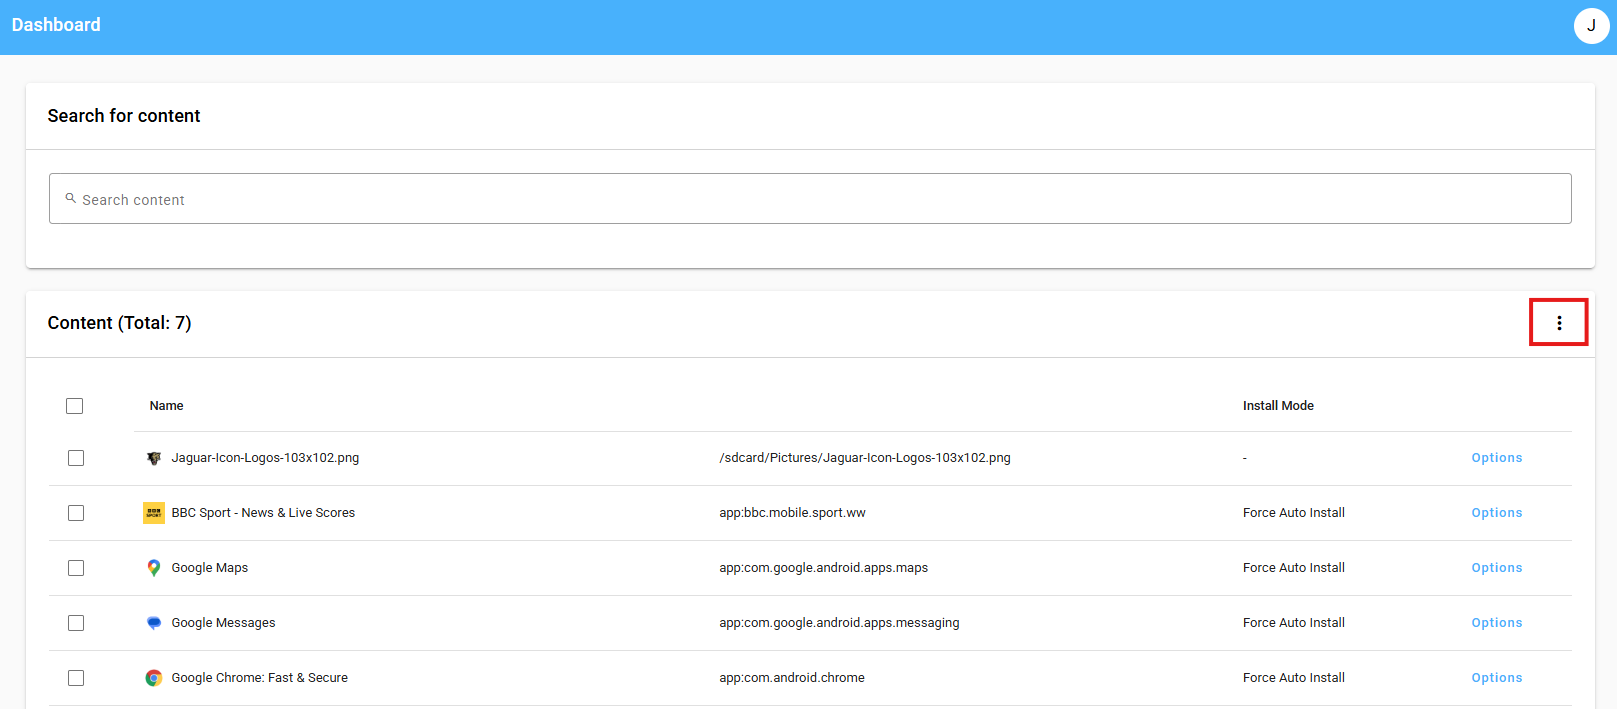
This page is used to select what content from the company library should be downloaded onto the project devices.
 Use the menu in the upper right-hand corner of the table to add content to this project. If you need any further assistance in managing or adding content, please consult our knowledgebase article.
Project Policies
The policies section is where all of the settings that you wish to apply to your devices are housed.
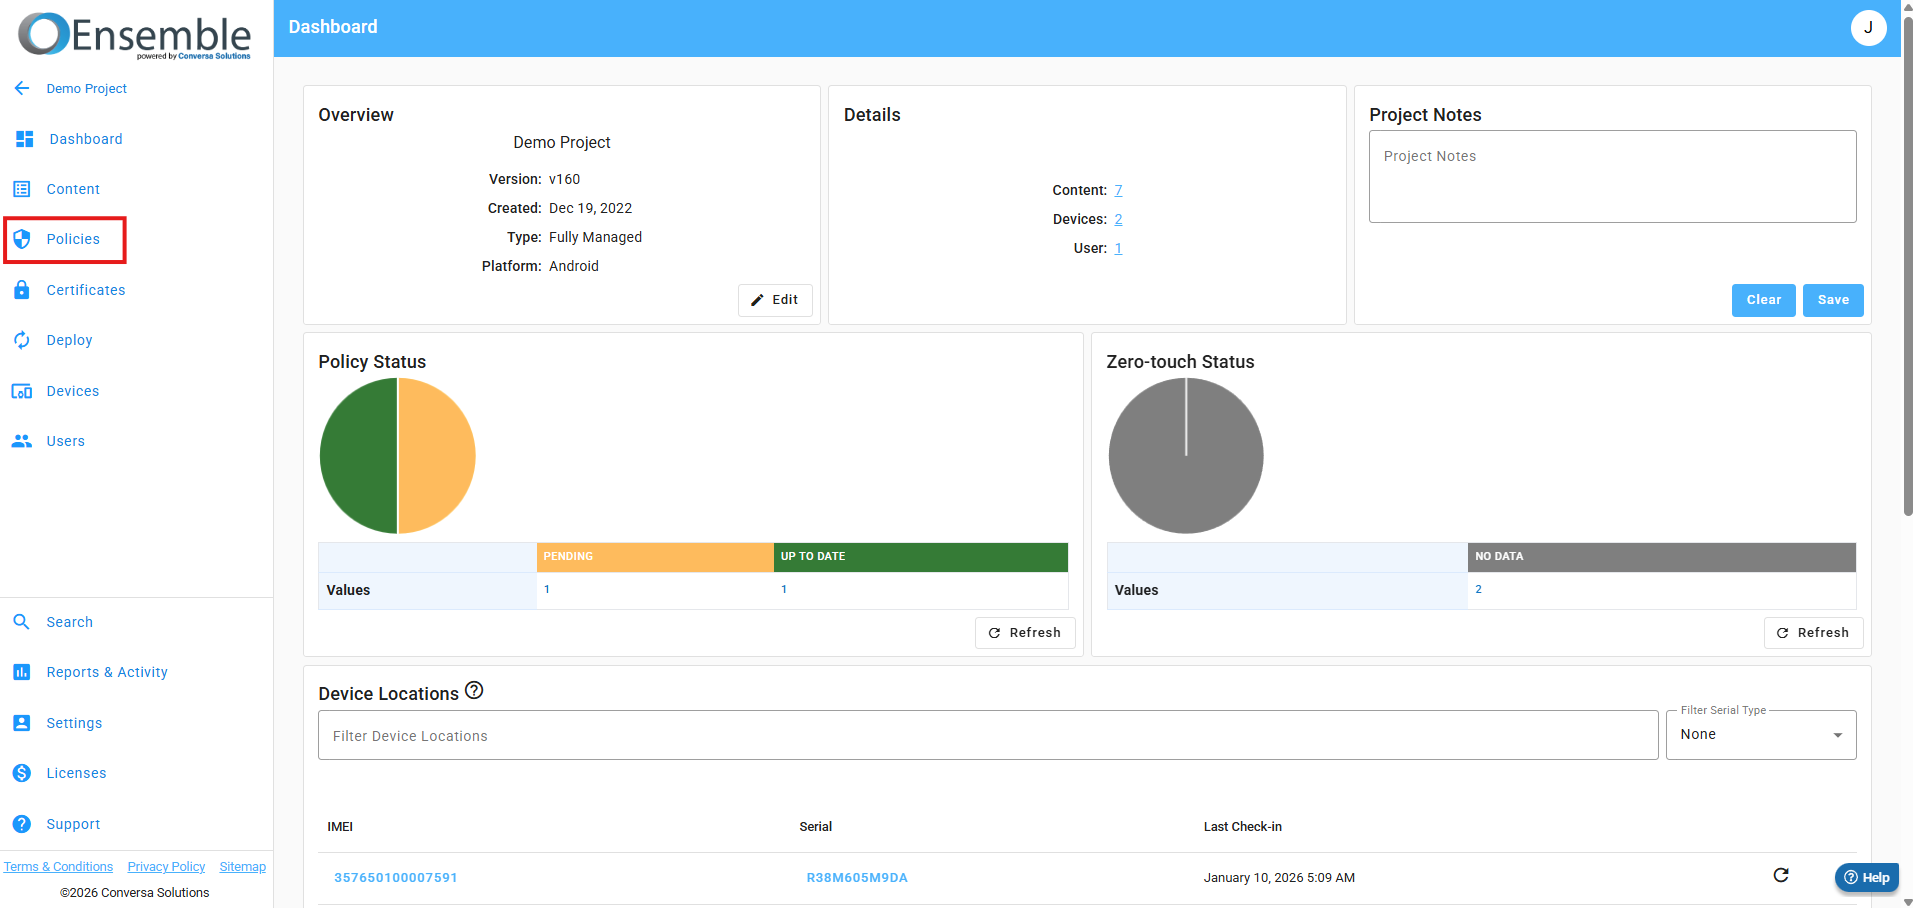
Before you make any edits to any project, you must click the edit button in the top right, and when you are done, you will hit the same button, which is now a save button.
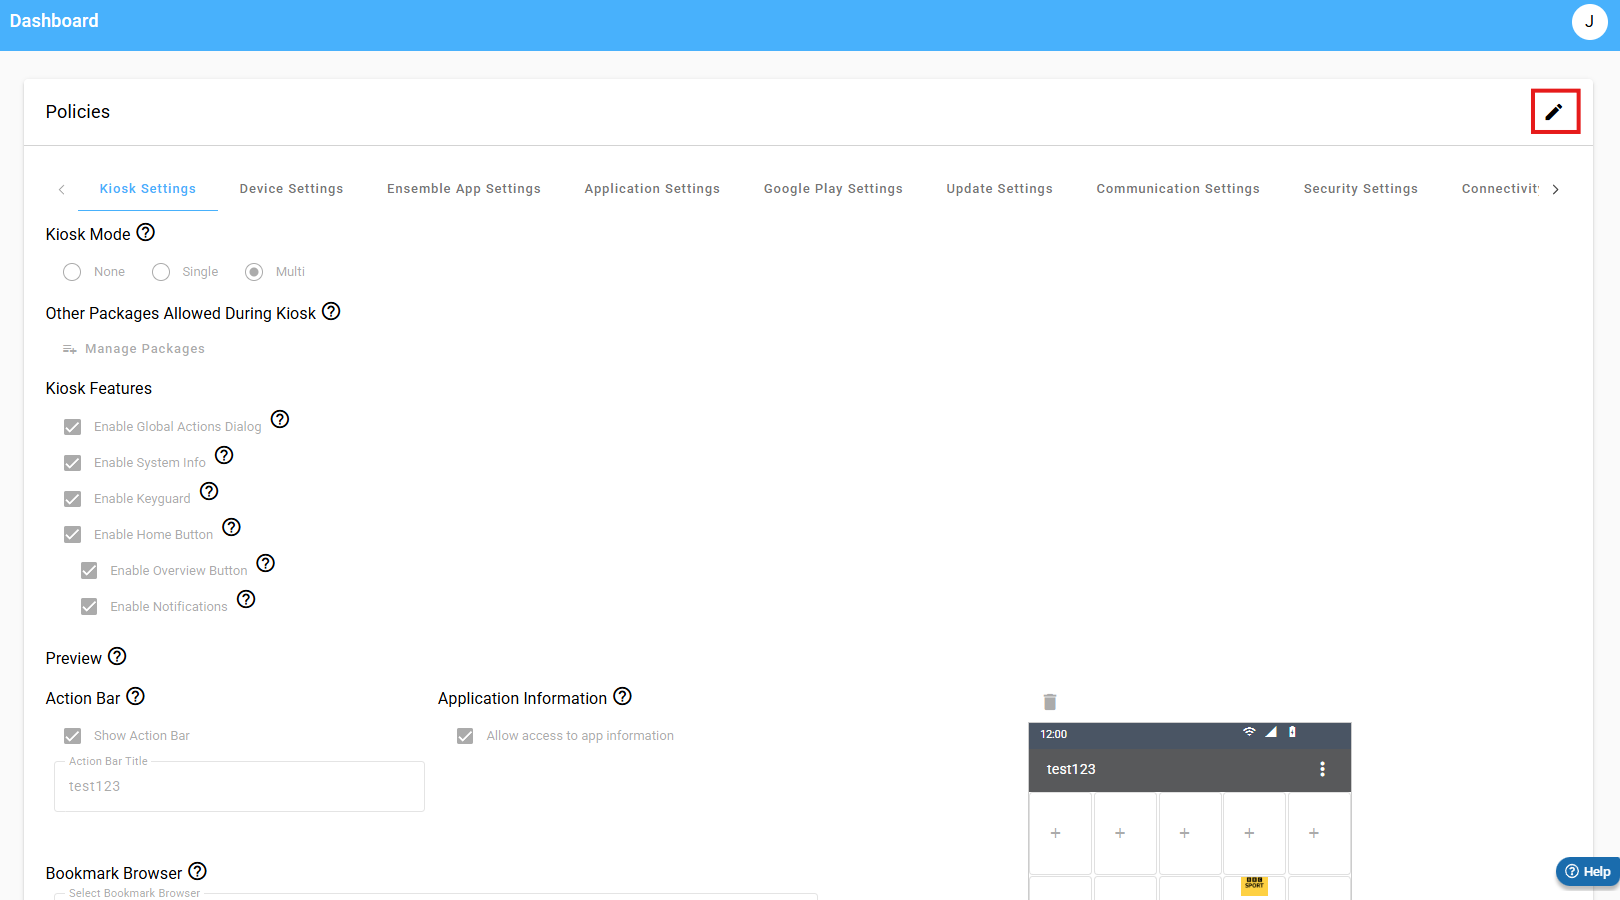
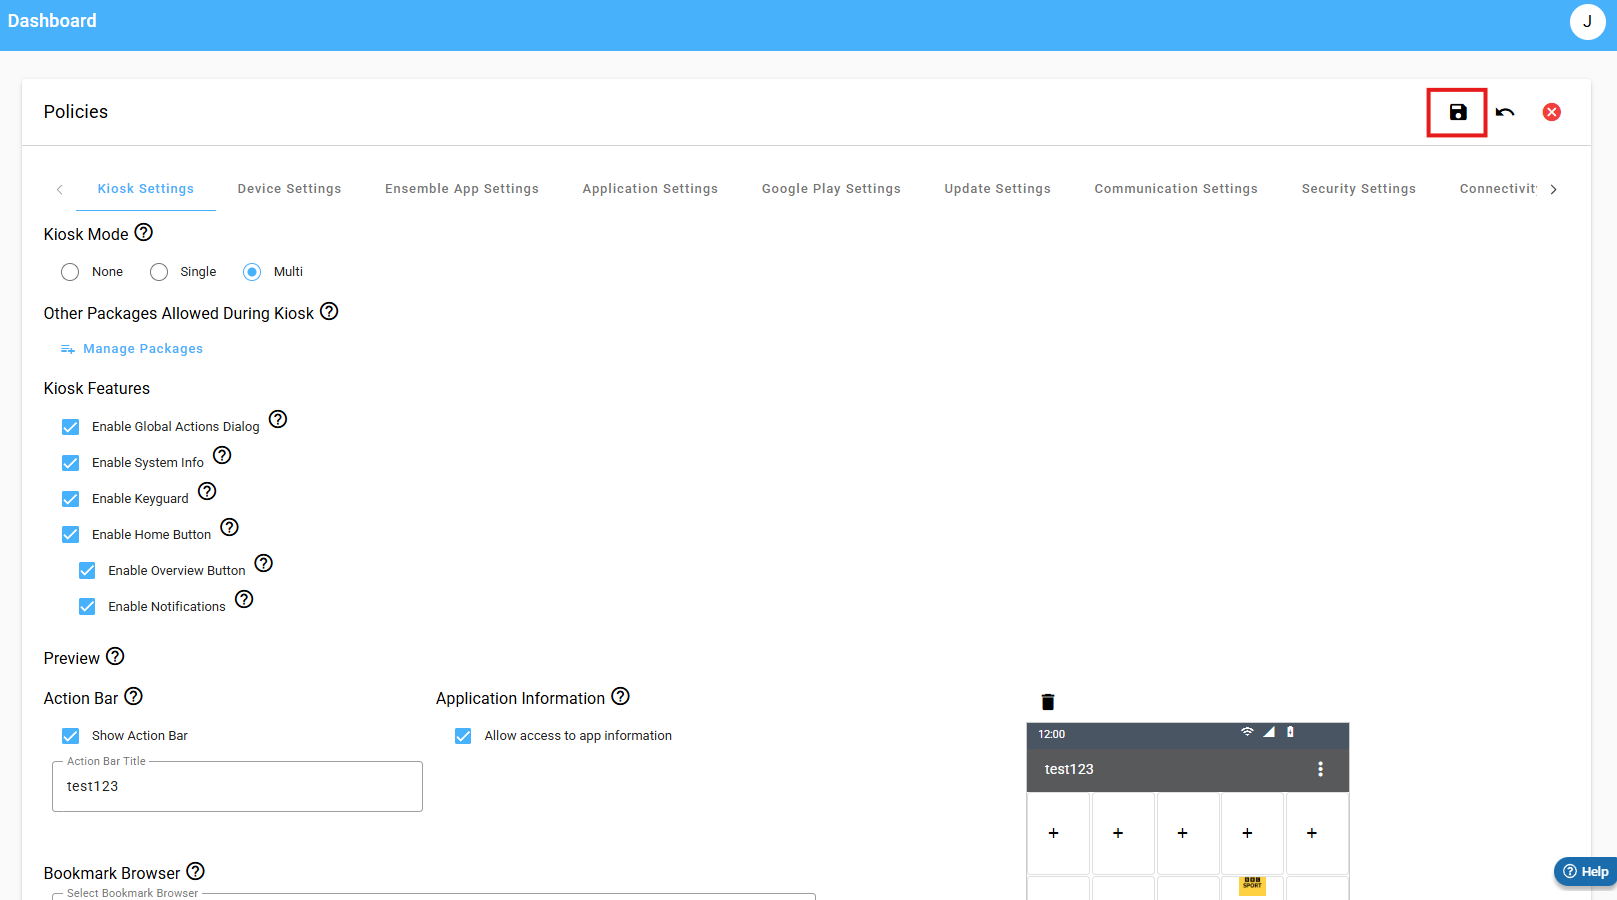
Each section of the policies page houses a different group of settings for the project itself. Whether it be settings for the kiosk, the device, security settings, network and communication settings to application settings for all of the applications you have added to the project, they are all housed within these tabs. Our knowledgebase articles go into much more detail regarding what every setting on each tab does and affects.
Project Certificates
The next section on the left-hand side of the screen is certificates.
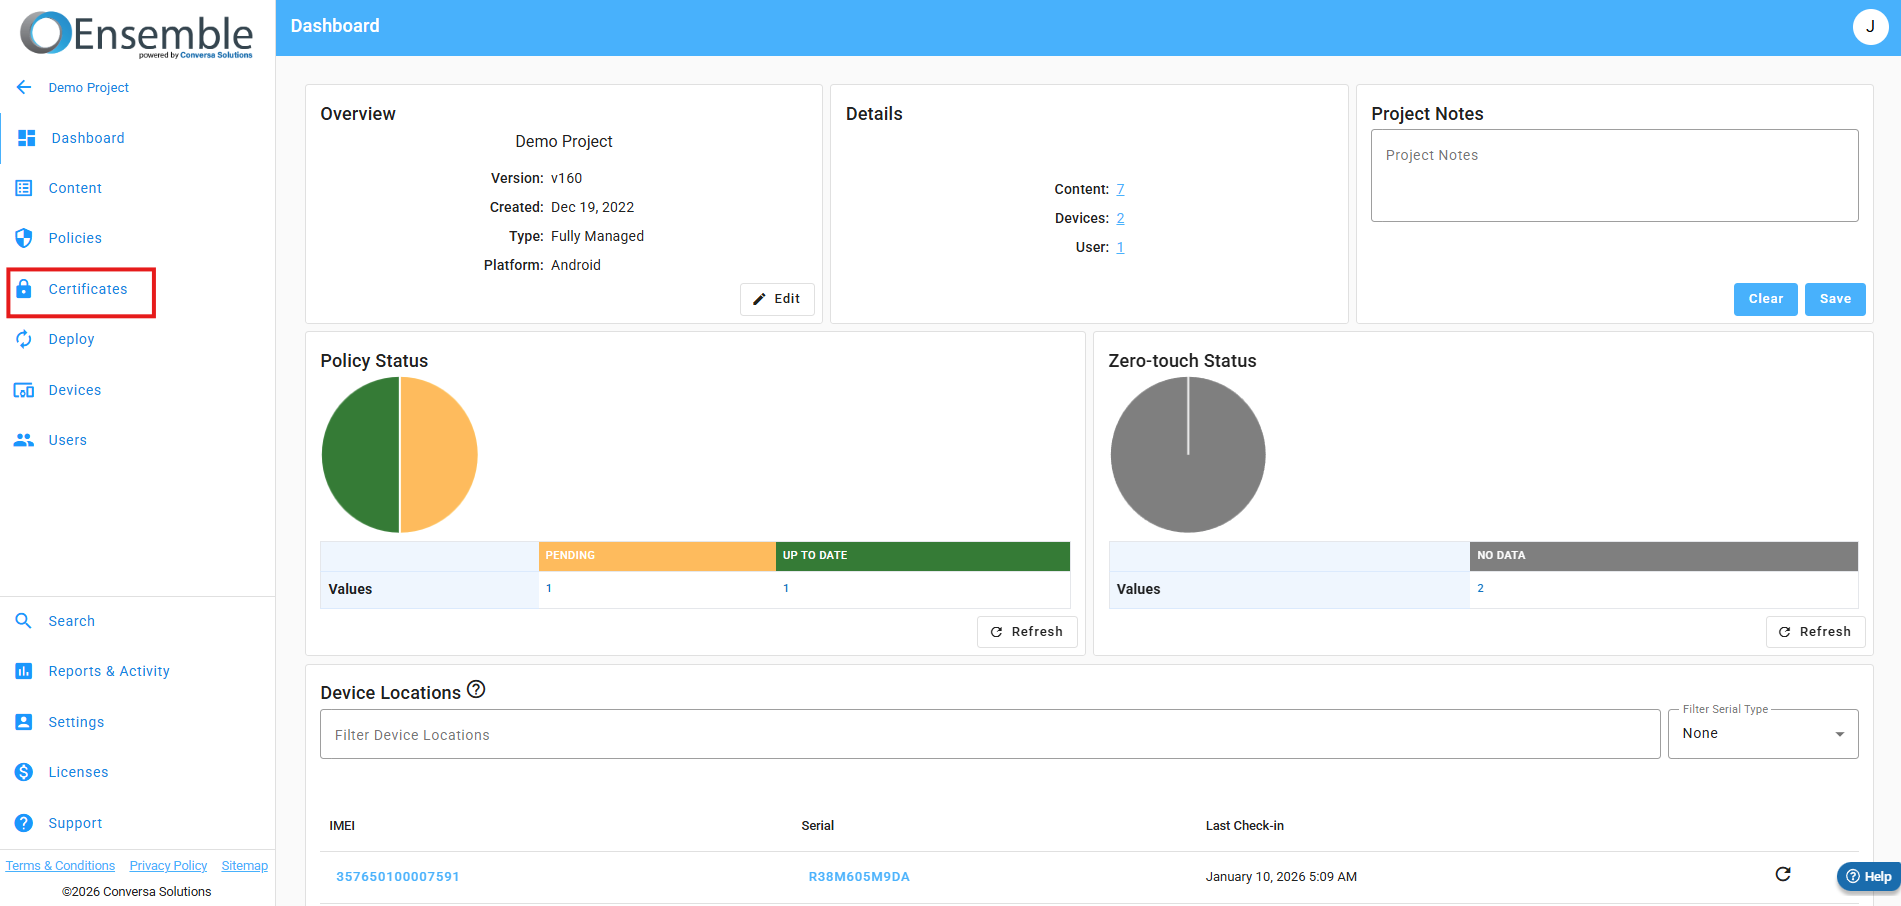
This is where you can select certificates to be installed for use by a VPN or other applications on the devices for this project. These are the same certificates that were uploaded on the company content certificates page.
Deploy
Underneath this, you will find deploy.
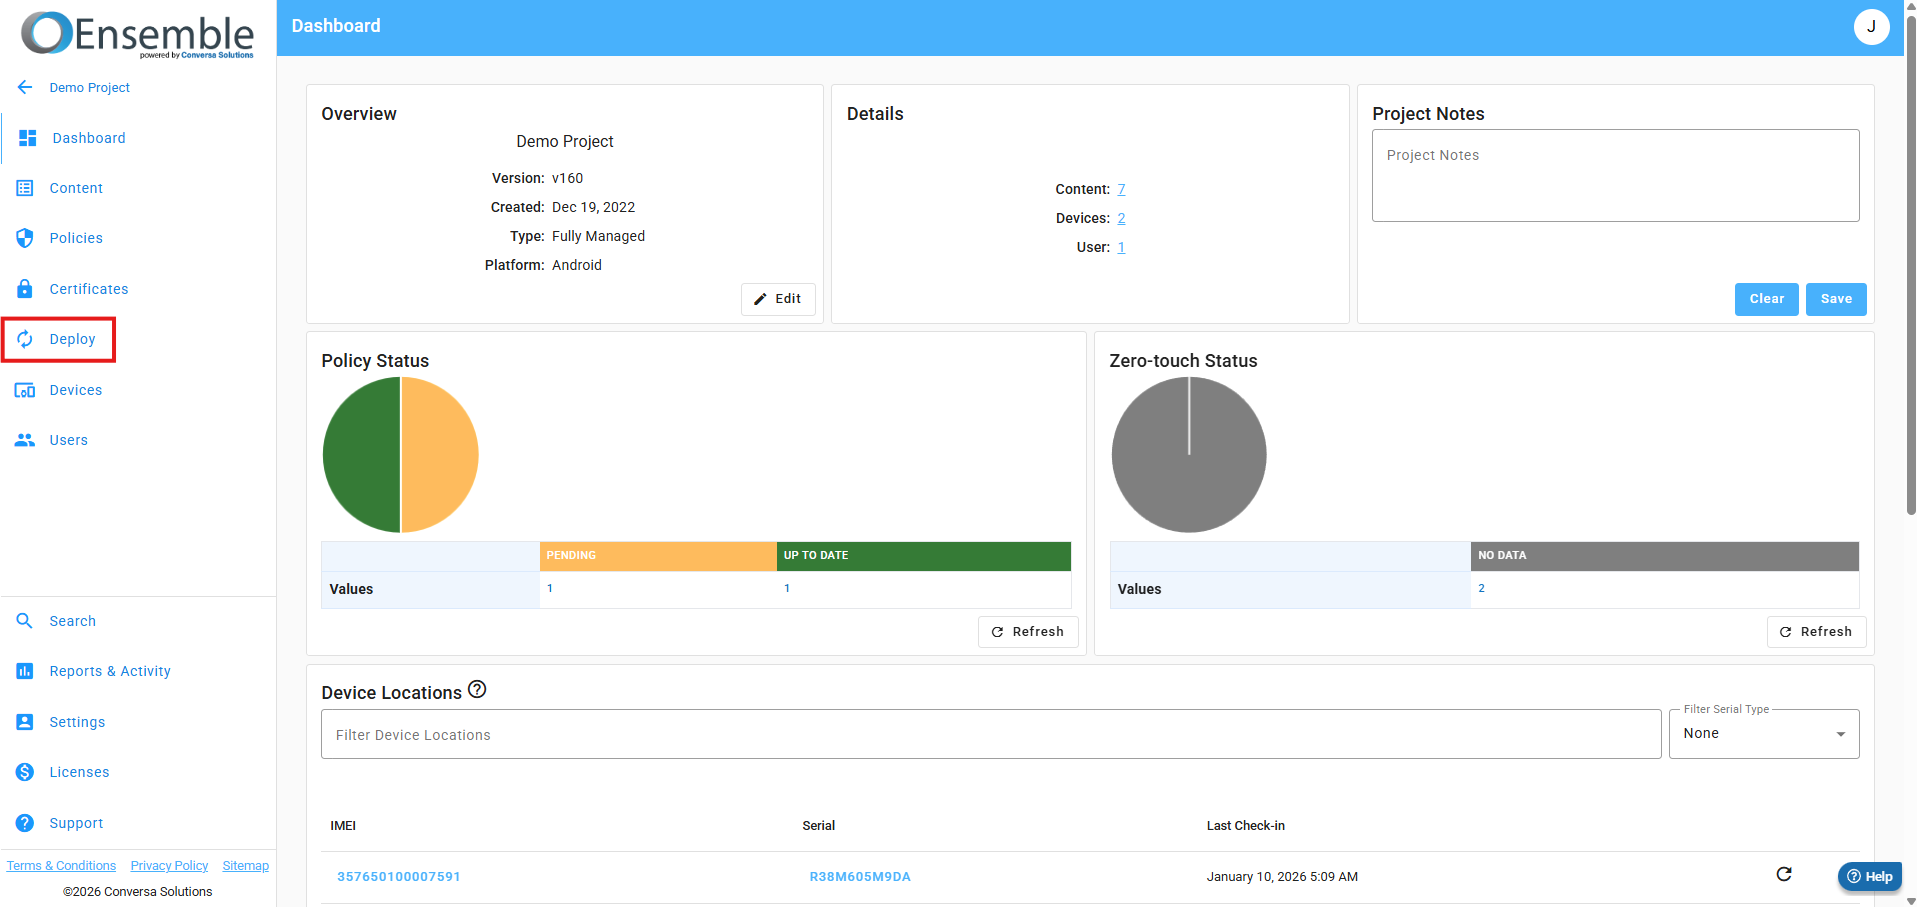
The deploy screen is where you push out any and all changes that you have made to your project to ensure that your devices have the most up-to-date data. If you change a setting or add a new application, you need to deploy to actually send that policy to the devices. If you want it to be deployed to the devices right here, right now, you can select instant to force the device to wake up and check in.

User Interaction Required will download the latest policy, but will not apply them until the user agrees to continue through the check-in process, which will be on the device screen itself.
A forced update will start applying policies immediately, and the check-in will be visible to the user.
A silent update will apply the latest policies in the background, with no UI shown.
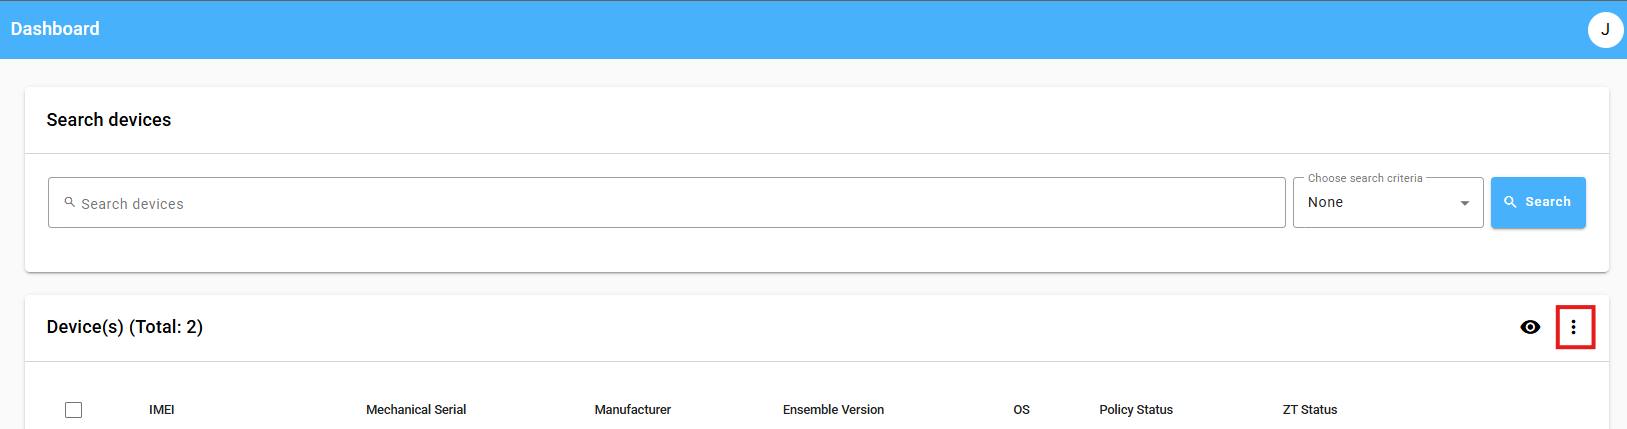
Project Devices
This section will behave very similarly to the device management table that is present on your company page.
 In here, you can see the devices that are currently assigned to the project, or you can add a device by clicking the three dots menu in the top right of the table.
Note this will not allow you to register a new device to the company. It will only associate a prior added device to the project.
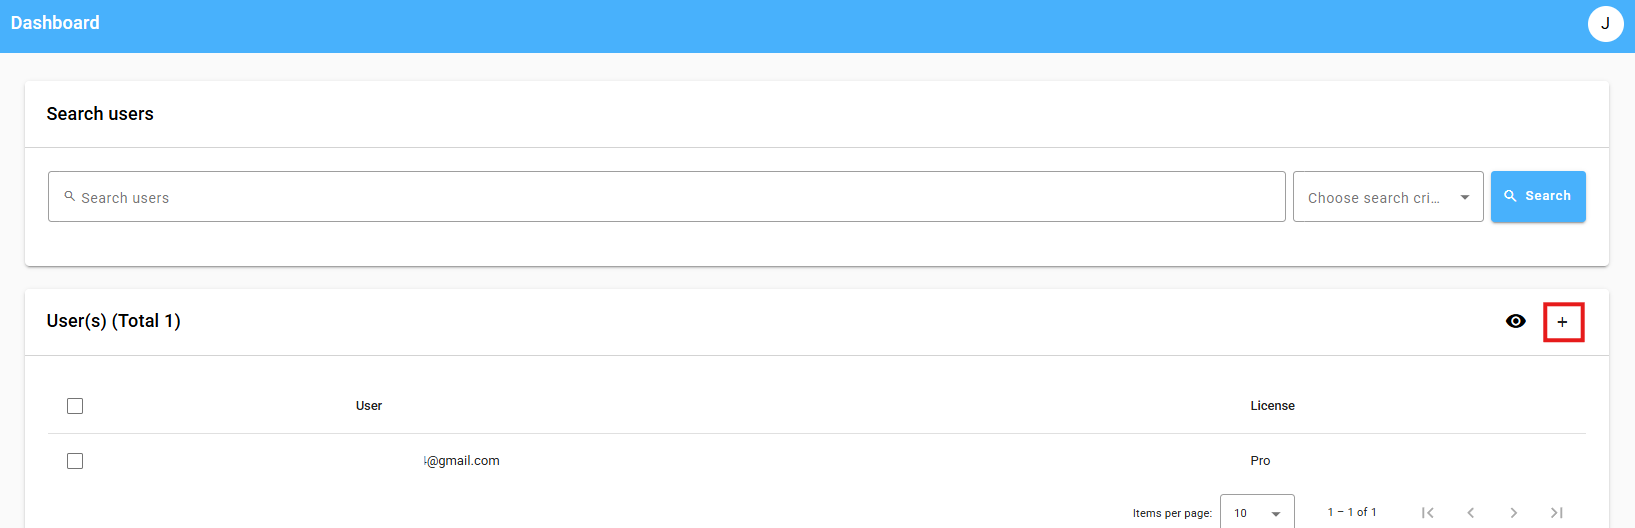
Project Users
Application users can be added to the users page in a similar manner. Any device that is logged into Ensemble with the user account associated with the project will load the policies of that project. A default license is associated with each user. When a new device is logged into with that user account, a seat from that default key is used. If there are no available seats, the login will fail.